I remember staring at a beautiful, vibrant quilt in a local shop, feeling a powerful mix of awe and intimidation. I desperately wanted to create something like that, something warm and full of stories, but the process seemed like a secret language I couldn't understand. My first attempt involved a pair of scissors, wobbly hand-cut squares, and a lot of frustration. It wasn't until I found a proper quilting for beginners tutorial that the pieces, both literally and figuratively, started to click into place. If you're standing where I was, feeling that same blend of excitement and uncertainty, you're in the right place. This guide is the friendly, step-by-step conversation I wish I'd had, designed to take you from a pile of fabric to your very first finished quilt.
Contents
- 1 Essential Tools and Supplies: Your Quilting for Beginners Tutorial Starter Kit
- 2 Choosing Your Fabric and Pattern: A Critical First Step in This Quilting for Beginners Tutorial
- 3 Precision is Key: The Ultimate Quilting for Beginners Tutorial on Cutting and Piecing
- 4 Assembling the Quilt Sandwich: A Quilting for Beginners Tutorial on Layering
- 5 The Magic of Quilting: Your Quilting for Beginners Tutorial on Stitching the Layers
- 6 Finishing Touches: The Definitive Quilting for Beginners Tutorial on Binding Your Quilt
- 7 Frequently Asked Questions for New Quilters
- 8 Your Journey Begins: A Final Word on This Quilting for Beginners Tutorial
Essential Tools and Supplies: Your Quilting for Beginners Tutorial Starter Kit
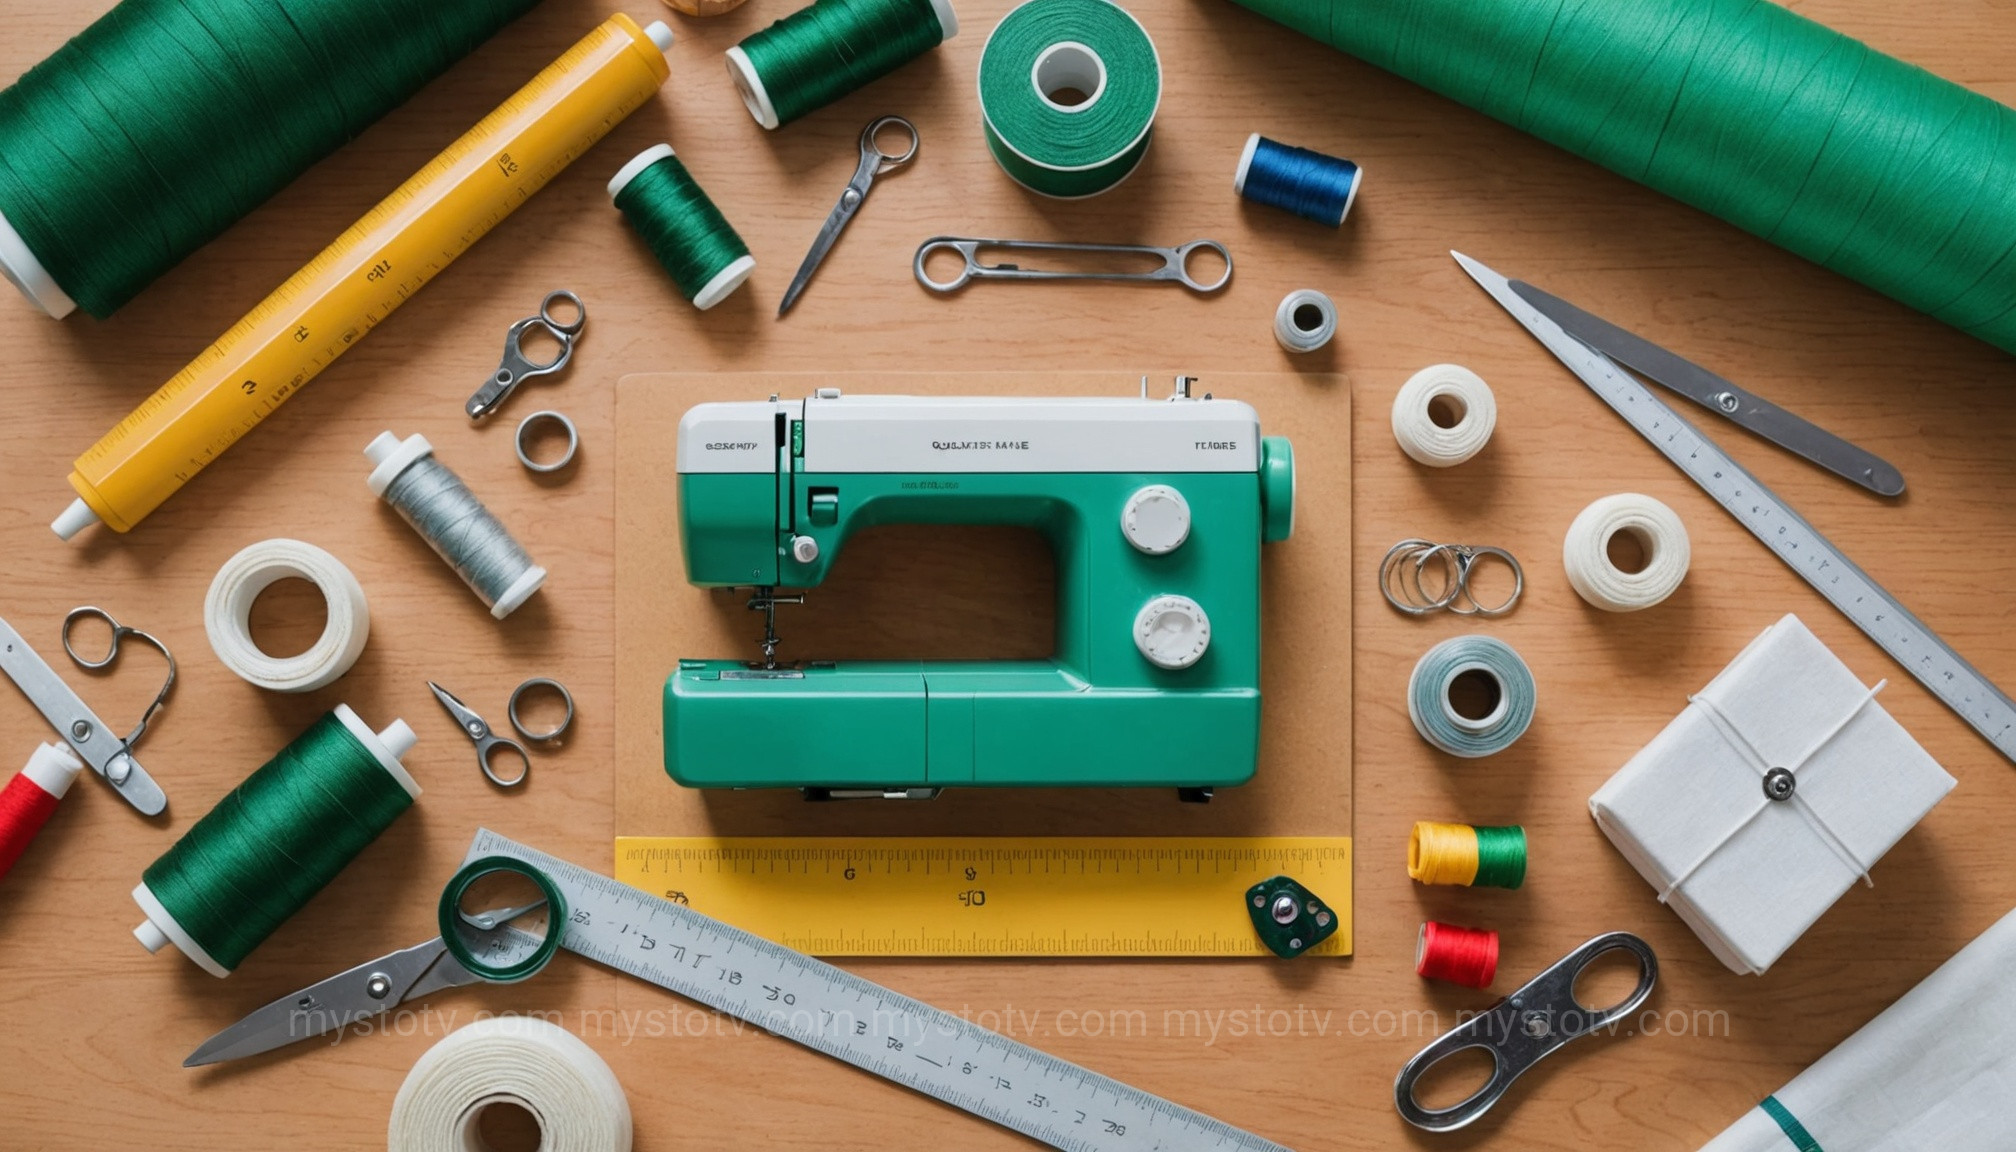
Before you can even think about fabric, gathering the right tools is paramount. Walking into a craft store can be overwhelming, with aisles of gadgets all claiming to be essential. The truth is, you only need a handful of key items to start. Investing in quality basics will prevent immense frustration and set you up for success. This section of our quilting for beginners tutorial focuses on the non-negotiable tools that make the process smoother, more accurate, and ultimately more enjoyable.
Must-Have Tools for Your First Quilt
Think of these as your core investment. Trying to quilt without them is like trying to bake a cake without measuring cups. You might get something edible, but it won't be what you hoped for.
- Rotary Cutter, Mat, and Ruler: This trio is the heart of modern quilting. A sharp rotary cutter (a 45mm blade is a great all-purpose size) works like a pizza cutter for fabric, providing clean, straight lines that scissors can't match. A self-healing mat protects your table and your blade, while a clear acrylic ruler (a 6" x 24" is a versatile starting point) allows you to see the fabric underneath for precise cuts.
- Sewing Machine: You don't need a fancy, computerized machine. A basic, reliable machine that can produce a consistent straight stitch is all you need. The most important accessory is a walking foot (sometimes called an even-feed foot). This special foot grips the top and bottom layers of your quilt sandwich simultaneously, preventing the puckering and shifting that can plague beginners.
- Quality Cotton Thread: Don't skimp on thread. Cheap thread is weaker, produces more lint, and can cause tension issues in your machine. A good 50-weight 100% cotton thread in a neutral color like white, grey, or cream is perfect for piecing and quilting your first project.
- Pins or Sewing Clips: You'll need something to hold your fabric pieces together as you sew. Traditional quilter's pins are long and fine. However, many beginners find sewing clips (like Wonder Clips) easier to manage. They don't distort the fabric and are quick to apply and remove.
Analysis: Why These Tools Matter for a Beginner
The core theme of this initial list is precision and ease. The rotary cutter system ensures your fabric pieces are cut to the exact same size, which is the single most important factor in getting your quilt blocks to fit together properly. A beginner struggling with inaccurate, scissor-cut pieces will quickly become disheartened when their points don't match. Similarly, a walking foot automates the difficult task of managing multiple fabric layers, solving a common problem before it even begins. By starting with these specific tools, this quilting for beginners tutorial helps you bypass common sources of failure, allowing you to focus on the creative process instead of fighting your equipment.
Choosing Your Fabric and Pattern: A Critical First Step in This Quilting for Beginners Tutorial
The fabric aisle is a wonderland of color and pattern, but it can also be a source of paralysis. For your first project, the goal is to make choices that simplify the process. This part of the quilting for beginners tutorial will guide you toward selecting materials and a design that are forgiving and fun to work with, setting a positive tone for your entire project.

Selecting Beginner-Friendly Fabric
The type of fabric you choose has a huge impact on your sewing experience. While silks and rayons are beautiful, they are slippery and difficult to handle. For your first quilt, there's one clear winner.
- Stick to 100% Quilting Cotton: This fabric is specifically designed for quilting. It's stable, easy to press, holds a crease well, and is relatively forgiving. It comes in an endless variety of colors and prints.
- Consider Pre-Cuts: One of the best innovations for beginners is the pre-cut fabric bundle. These are collections of coordinating fabrics that have already been cut into standard sizes. The most common are:
- Charm Packs: Bundles of 5" x 5" squares.
- Layer Cakes: Bundles of 10" x 10" squares.
- Jelly Rolls: Bundles of 2.5" wide strips.
Starting with pre-cuts eliminates most of the initial, intimidating cutting phase and ensures all your pieces are perfectly square.
Choosing Your First Quilt Pattern
Your first pattern should be simple, relying on straight lines and basic shapes like squares and rectangles. Avoid patterns with triangles, curves, or tiny pieces for now. A great beginner project is a simple patchwork quilt made from squares, such as a "postage stamp" or "trip around the world" design. Many free patterns are available online specifically for using pre-cut charm packs or layer cakes.
Analysis: Reducing Decision Fatigue and Ensuring Success
The recommendations in this section are designed to eliminate two major hurdles for a new quilter: fabric coordination and complex cutting. By choosing a pre-cut bundle, the color and pattern matching has been done for you by a professional designer, guaranteeing a beautiful result. This quilting for beginners tutorial advocates for pre-cuts because they allow you to jump straight to the fun part: sewing. Choosing a simple, square-based pattern works in tandem with this, as it requires minimal additional cutting and focuses on the fundamental skill you need to master: sewing a consistent quarter-inch seam.
Precision is Key: The Ultimate Quilting for Beginners Tutorial on Cutting and Piecing
This is where your quilt top comes to life. Piecing is the process of sewing your cut fabric pieces together to form your quilt blocks, which are then sewn together to create the full quilt top. The key to a flat, beautiful quilt top is consistency, particularly with your cutting and your seam allowance. This quilting for beginners tutorial breaks down these two critical skills.
Mastering the Rotary Cutter
If you're not using pre-cuts, or if your pattern requires you to cut them down, accurate cutting is non-negotiable. Always place your fabric on the self-healing mat. Align your acrylic ruler with the line you want to cut, ensuring the fabric is perfectly flat. Apply firm, even pressure on the ruler with your non-dominant hand (keeping fingers well away from the edge!) and push the rotary cutter away from you in one smooth motion. Never "saw" back and forth. Accuracy here prevents headaches later.
Achieving the Perfect Quarter-Inch Seam
In quilting, the standard seam allowance is a scant ¼ inch. This means it's just a thread's width smaller than a true ¼ inch. This precision is vital for ensuring your finished blocks are the correct size.
- Mark Your Machine: Use a piece of painter's tape or a special seam guide to mark the ¼-inch line on your sewing machine bed. To find the spot, place your ruler under the presser foot, lower the needle until it's just touching the ¼-inch mark on the ruler, and then place your guide right up against the edge of the ruler.
- Sew Consistently: When piecing, place two fabric squares right sides together. Align the edge of your fabric with your tape guide and sew along the entire length. Don't watch the needle; watch the edge of the fabric against your guide.
- Press, Don't Iron: After sewing a seam, you need to press it. Place the block on your ironing board and first "set the seam" by pressing it flat as it was sewn. Then, open the fabric and gently press the seam allowance to one side (usually toward the darker fabric). Use an up-and-down pressing motion; avoid a back-and-forth ironing motion, which can stretch and distort your block.
Analysis: Building a Foundation of Accuracy
This section of the quilting for beginners tutorial emphasizes that quilting is a craft of accumulation. Small errors in cutting or seam allowance don't just stay small; they compound with every piece you add. A block that is ⅛-inch too small might not seem like a big deal, but when you sew ten of them together in a row, your quilt top will be over an inch shorter than it should be, leading to wavy borders and immense frustration. By mastering the scant ¼-inch seam and precise pressing from the very beginning, you are building a foundational skill that will serve you in every single quilt you ever make. It's the difference between a project that fights you every step of the way and one that comes together smoothly.
Assembling the Quilt Sandwich: A Quilting for Beginners Tutorial on Layering
Once your quilt top is pieced together, it's a beautiful but flimsy sheet of fabric. To turn it into a quilt, you need to create the "quilt sandwich." This consists of three layers: the backing fabric, the batting (the fluffy middle layer), and your finished quilt top. This quilting for beginners tutorial will show you how to put them together without wrinkles or puckers.

The Three Layers of a Quilt
- Backing Fabric: This is the fabric for the back of your quilt. It should be at least 4-6 inches larger than your quilt top on all four sides. This extra fabric gives you room to work and accounts for any shifting during the quilting process.
- Batting: This is the insulation that makes a quilt warm. It comes in various materials like cotton, polyester, wool, or blends. For a beginner, a low-loft 100% cotton or an 80/20 cotton/poly blend is a great, easy-to-use choice. Like the backing, your batting should be larger than your quilt top.
- Quilt Top: Your beautifully pieced top layer. Give it one final, thorough pressing before you begin layering.
Basting Your Quilt Sandwich
Basting is the process of temporarily securing the three layers together so they don't shift while you quilt. There are two primary methods for beginners.
- Pin Basting: This involves using special curved safety pins designed for quilting. Lay your backing flat on the floor (taping the corners down can help keep it taut), smooth the batting over it, and finally, smooth your quilt top over the batting. Starting from the center and working your way out, place a pin every 4-5 inches (about a fist's width apart) through all three layers.
- Spray Basting: This uses a temporary spray adhesive. Working in sections, you spray the adhesive onto the batting and smooth the other layers onto it. It's faster than pinning but requires good ventilation. Follow the directions on the can carefully.
Analysis: The Importance of a Secure Foundation
The basting stage is the unsung hero of a well-finished quilt. It's tempting to rush this step, but a poorly basted quilt will almost certainly result in puckers, folds, and tucks on the back of your quilt as you sew. This quilting for beginners tutorial highlights both pinning and spraying because they address the same core problem: fabric shifting under the needle. Taping your backing to the floor creates the necessary tension to get a smooth start. Working from the center out pushes any excess fabric or air bubbles toward the edges, ensuring the final sandwich is perfectly flat. A securely basted quilt is a joy to quilt; a loose one is a constant battle.
The Magic of Quilting: Your Quilting for Beginners Tutorial on Stitching the Layers
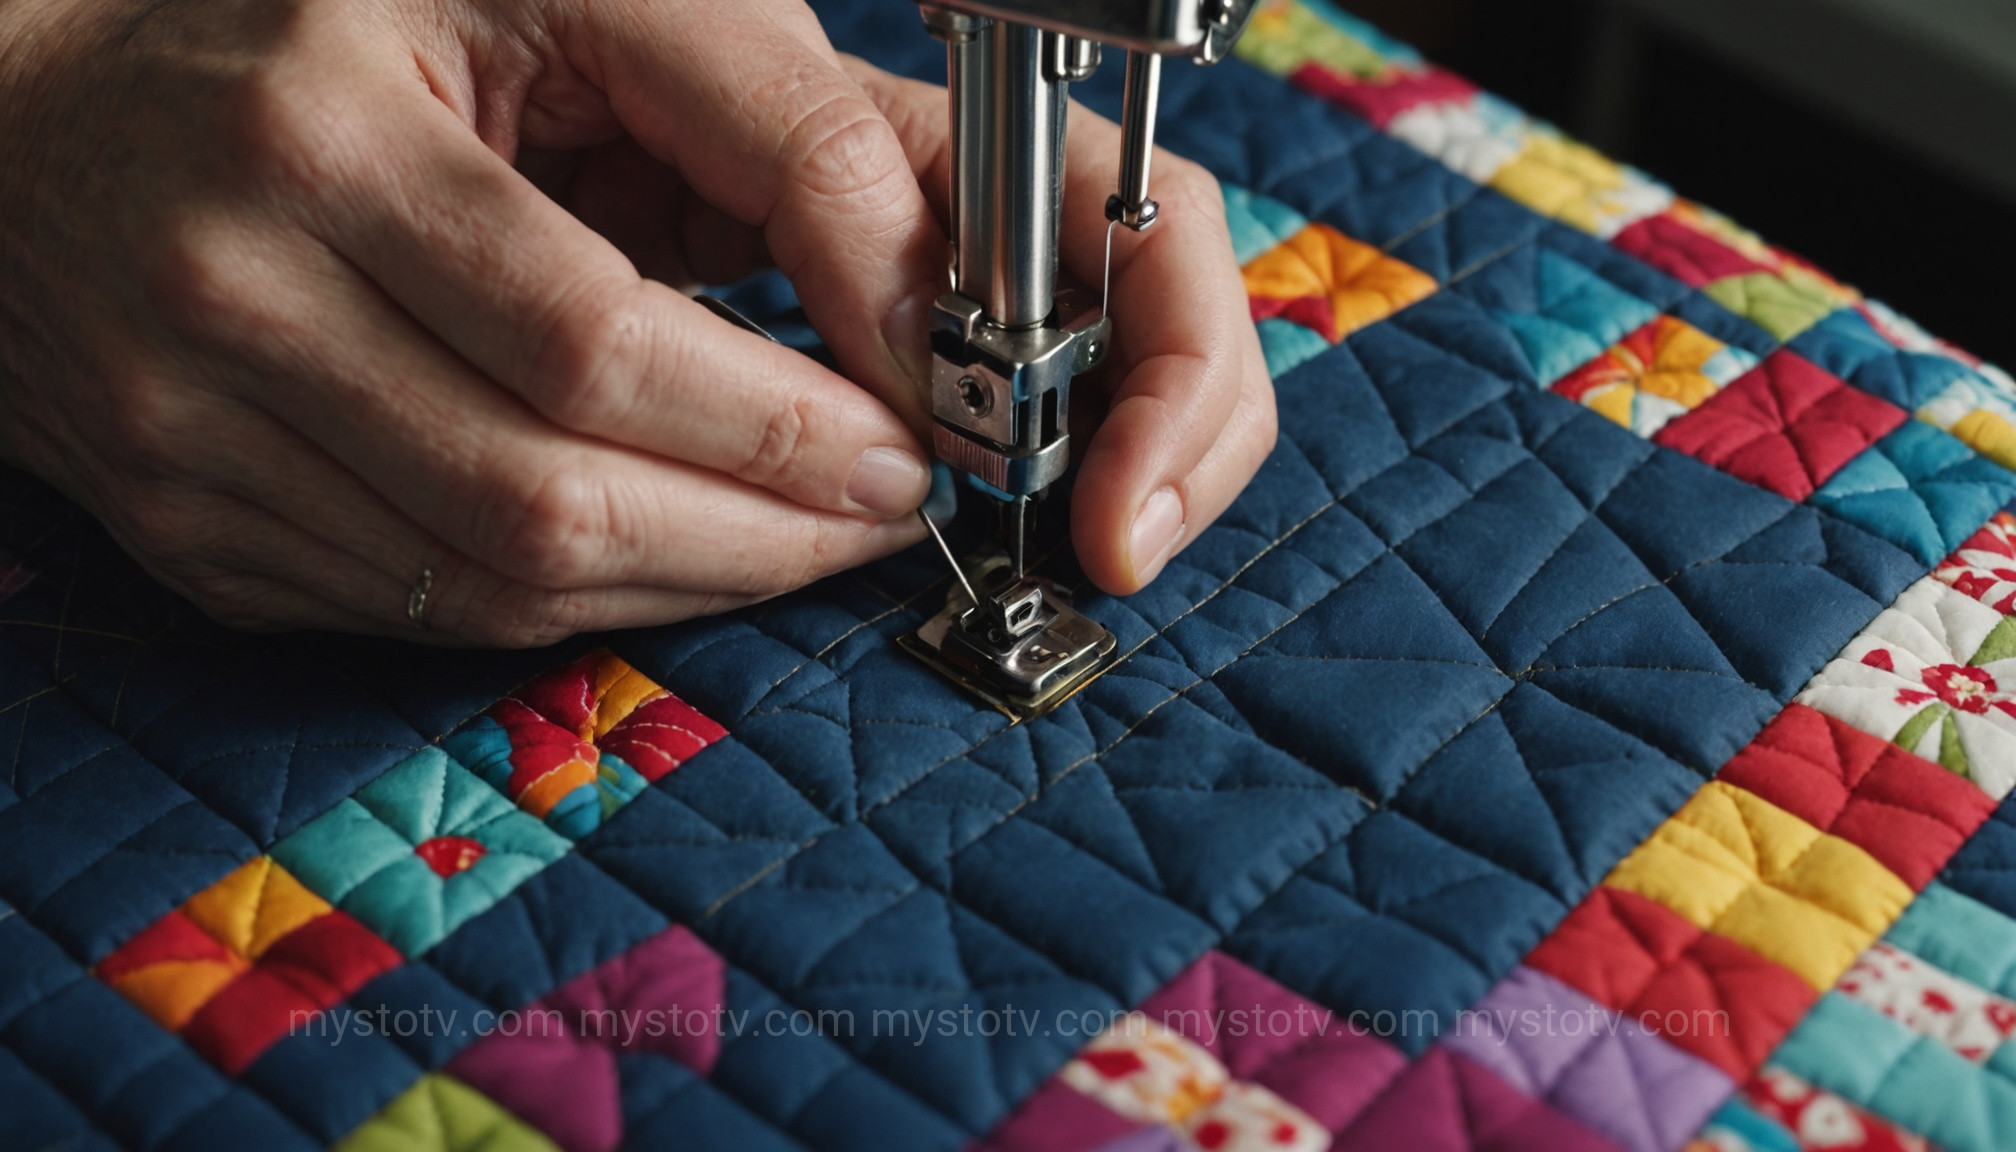
The term "quilting" actually refers to this specific step: the stitching that goes through all three layers of the quilt sandwich. This stitching is what holds everything together permanently and adds texture and design to the finished product. While advanced quilting can involve intricate, free-motion designs, this quilting for beginners tutorial will focus on a simple and highly effective method: straight-line quilting with a walking foot.
Straight-Line Quilting with a Walking Foot
This is the most accessible method for a beginner. Your walking foot, which you should have from the tool list, will be your best friend here. It ensures all layers feed through the machine at the same rate.
- Set Up Your Machine: Attach your walking foot. Increase your stitch length slightly; a length of 2.5 to 3.5 mm is usually good for quilting. A longer stitch looks better and is easier to remove if you make a mistake.
- Start in the Middle: Always begin your quilting in the center of the quilt and work your way out. This continues to push any potential fullness to the edges.
- Stitch in the Ditch: One of the easiest starting points is to "stitch in the ditch." This means you'll be quilting directly in the seam lines you already created when you pieced your top. It hides the quilting stitches on the front while creating a lovely grid pattern on the back.
- Create a Grid: You can also quilt straight lines on either side of your seam lines to create a grid. Many walking feet come with a guide bar that you can set to a specific distance (e.g., 1 inch) to help you sew perfectly parallel lines.
Analysis: Functionality Meets Design
The act of quilting serves two purposes: one functional, one aesthetic. Functionally, the stitches must be close enough to secure the batting according to the manufacturer's instructions (usually stated on the packaging, e.g., "quilt up to 8 inches apart"). Aesthetically, the quilting lines add a new layer of design. For a beginner, this quilting for beginners tutorial recommends straight lines because they are achievable on any home machine and complement the geometric nature of a patchwork quilt. This approach builds confidence by producing a clean, professional-looking finish without the steep learning curve of free-motion quilting, allowing the beginner to successfully complete the project and feel a sense of accomplishment.
Finishing Touches: The Definitive Quilting for Beginners Tutorial on Binding Your Quilt
You've made it to the final step! Binding is the fabric border that encases the raw edges of your quilt, giving it a durable and polished finish. It might seem complicated, but with a few key techniques, you'll have it mastered. This quilting for beginners tutorial will walk you through a sturdy, machine-sewn binding method.
Creating and Attaching the Binding
- Trim the Quilt: First, you need to square up your quilt. Using your long ruler and rotary cutter, trim the excess batting and backing so all four sides are straight and the corners are at a 90-degree angle.
- Make Binding Strips: From your chosen binding fabric, cut 2.5-inch wide strips. You'll need enough strips to go all the way around your quilt. Sew them together end-to-end on the diagonal to reduce bulk, then press the entire long strip in half lengthwise, wrong sides together.
- Sew to the Front: Align the raw edge of your folded binding strip with the raw edge of your quilt top. Leaving an 8-10 inch "tail" at the beginning, start sewing the binding to the quilt using a ¼-inch seam allowance. Use your walking foot for this step!
- Miter the Corners: Stop sewing ¼ inch before you reach a corner. Backstitch, and remove the quilt from the machine. Fold the binding strip straight up, creating a 45-degree angle, then fold it back down along the next edge of the quilt. Start sewing again from the very top edge. This creates a neat, mitered corner.
- Join the Ends: When you've sewn all four sides and are back near where you started, stop, leaving a gap. Overlap the two tails of your binding strip and trim them so they fit together perfectly. Sew the tails together, and then finish sewing the binding down to the quilt.
- Finish on the Back: Now, fold the binding over the raw edge to the back of the quilt. Use sewing clips to hold it in place. "Stitch in the ditch" from the front of the quilt, making sure your needle catches the edge of the binding on the back. This creates a nearly invisible stitch on the front and a secure finish on the back.
Analysis: The Frame to Your Masterpiece
Binding is more than just a functional edge; it's the frame for your artwork. A well-executed binding signals a completed, well-crafted object. This quilting for beginners tutorial recommends a full machine-sewn method because it's the most durable and quickest for a beginner. While hand-sewn binding is a traditional and beautiful skill, it can be slow and discouraging for a first project. Mastering a strong, clean, machine-sewn binding provides the immense satisfaction of a truly finished quilt, reinforcing the positive experience and encouraging the new quilter to start their next project.
Frequently Asked Questions for New Quilters
Even with a step-by-step guide, some specific questions always come up. Here are answers to a few common queries from aspiring quilters.
1. Do I really need to pre-wash my fabric before I start?
This is a hotly debated topic! The traditional advice is yes, pre-wash to pre-shrink the cotton and remove any excess dyes that might bleed. However, many modern quilters, especially when using high-quality fabric or pre-cuts, skip this step. Pre-cuts can fray or distort in the wash. For your very first quilt, it's often easier to skip pre-washing. Your finished quilt will have a slightly more crinkled, vintage look after its first wash, which many people love. If you use very saturated colors like red or navy blue next to white, it's a good idea to throw a "color catcher" sheet in the washing machine with your finished quilt.
2. What is the easiest and best size for a first quilt?
A baby quilt (around 36" x 48") or a lap quilt (around 50" x 65") is an ideal size for a first project. These sizes are large enough to let you practice all the necessary skills but small enough that they aren't unwieldy to manage on a domestic sewing machine. A massive bed-sized quilt can be very difficult to baste and quilt in a small space, so it's best to save that for your second or third project.
3. How do I fix a mistake in my piecing? My points don't match!
Welcome to the club! Every quilter deals with this. The most important tool for fixing mistakes is your seam ripper. If your points are just slightly off, you can often gently nudge the fabric into place as you sew the final seam. If they are significantly off, it's almost always better to unpick the seam and re-sew it. Check your seam allowance first—this is the number one cause of mismatched points. Don't be discouraged; using a seam ripper is a normal part of the process, not a sign of failure.
Your Journey Begins: A Final Word on This Quilting for Beginners Tutorial
You now hold the complete roadmap to creating your very first quilt. From the initial excitement in the fabric store to the final stitch on the binding, this quilting for beginners tutorial has broken down each stage into manageable, understandable steps. Remember that your first quilt is not about perfection; it's about learning and completion. It will be a cozy, functional piece of art infused with the story of your new creative adventure. Embrace the process, be patient with yourself, and enjoy the hum of the sewing machine as you turn simple squares of fabric into a tapestry of your own making. The most important step is the one you take right now: begin.
