I still remember the scent of old paper and the satisfying thud of the giant dictionary my grandmother kept on her bottom bookshelf. It wasn't just for looking up words; it was her flower press. She’d carefully tuck pansies and clover between its pages, showing me how a little patience could capture a piece of the garden’s fleeting beauty forever. That early memory sparked a lifelong love for this delicate craft. While the romance of using an old book is undeniable, my journey has taught me there are more refined techniques. If you want to learn how to press flowers effectively, preserving their vibrant color and perfect form, it all comes down to understanding the fundamentals of moisture, pressure, and patience. It's a simple art, but one with nuances that can transform your results from good to breathtaking.
Contents
- 1 Choosing the Right Blooms: A Guide on How to Press Flowers for Best Results
- 2 The Classic Method: How to Press Flowers Using Books
- 3 Modern Techniques: How to Press Flowers with a Press or Microwave
- 4 Preserving Your Pressed Treasures: How to Press Flowers for Longevity
- 5 Creative Inspiration: Using Your Pressed Flowers in Art and Decor
- 6 References
Choosing the Right Blooms: A Guide on How to Press Flowers for Best Results
The journey of learning how to press flowers begins long before you apply any pressure. The success of your final creation is overwhelmingly determined by the blooms you select at the very start. Choosing the right flower is less about personal preference and more about botanical science. The goal is to remove moisture as quickly and evenly as possible, and certain flower structures are far better suited for this process. Analyzing a flower’s anatomy—its moisture content, petal density, and overall shape—is the key to predicting its pressing potential.
Ideal Flower Characteristics for Pressing
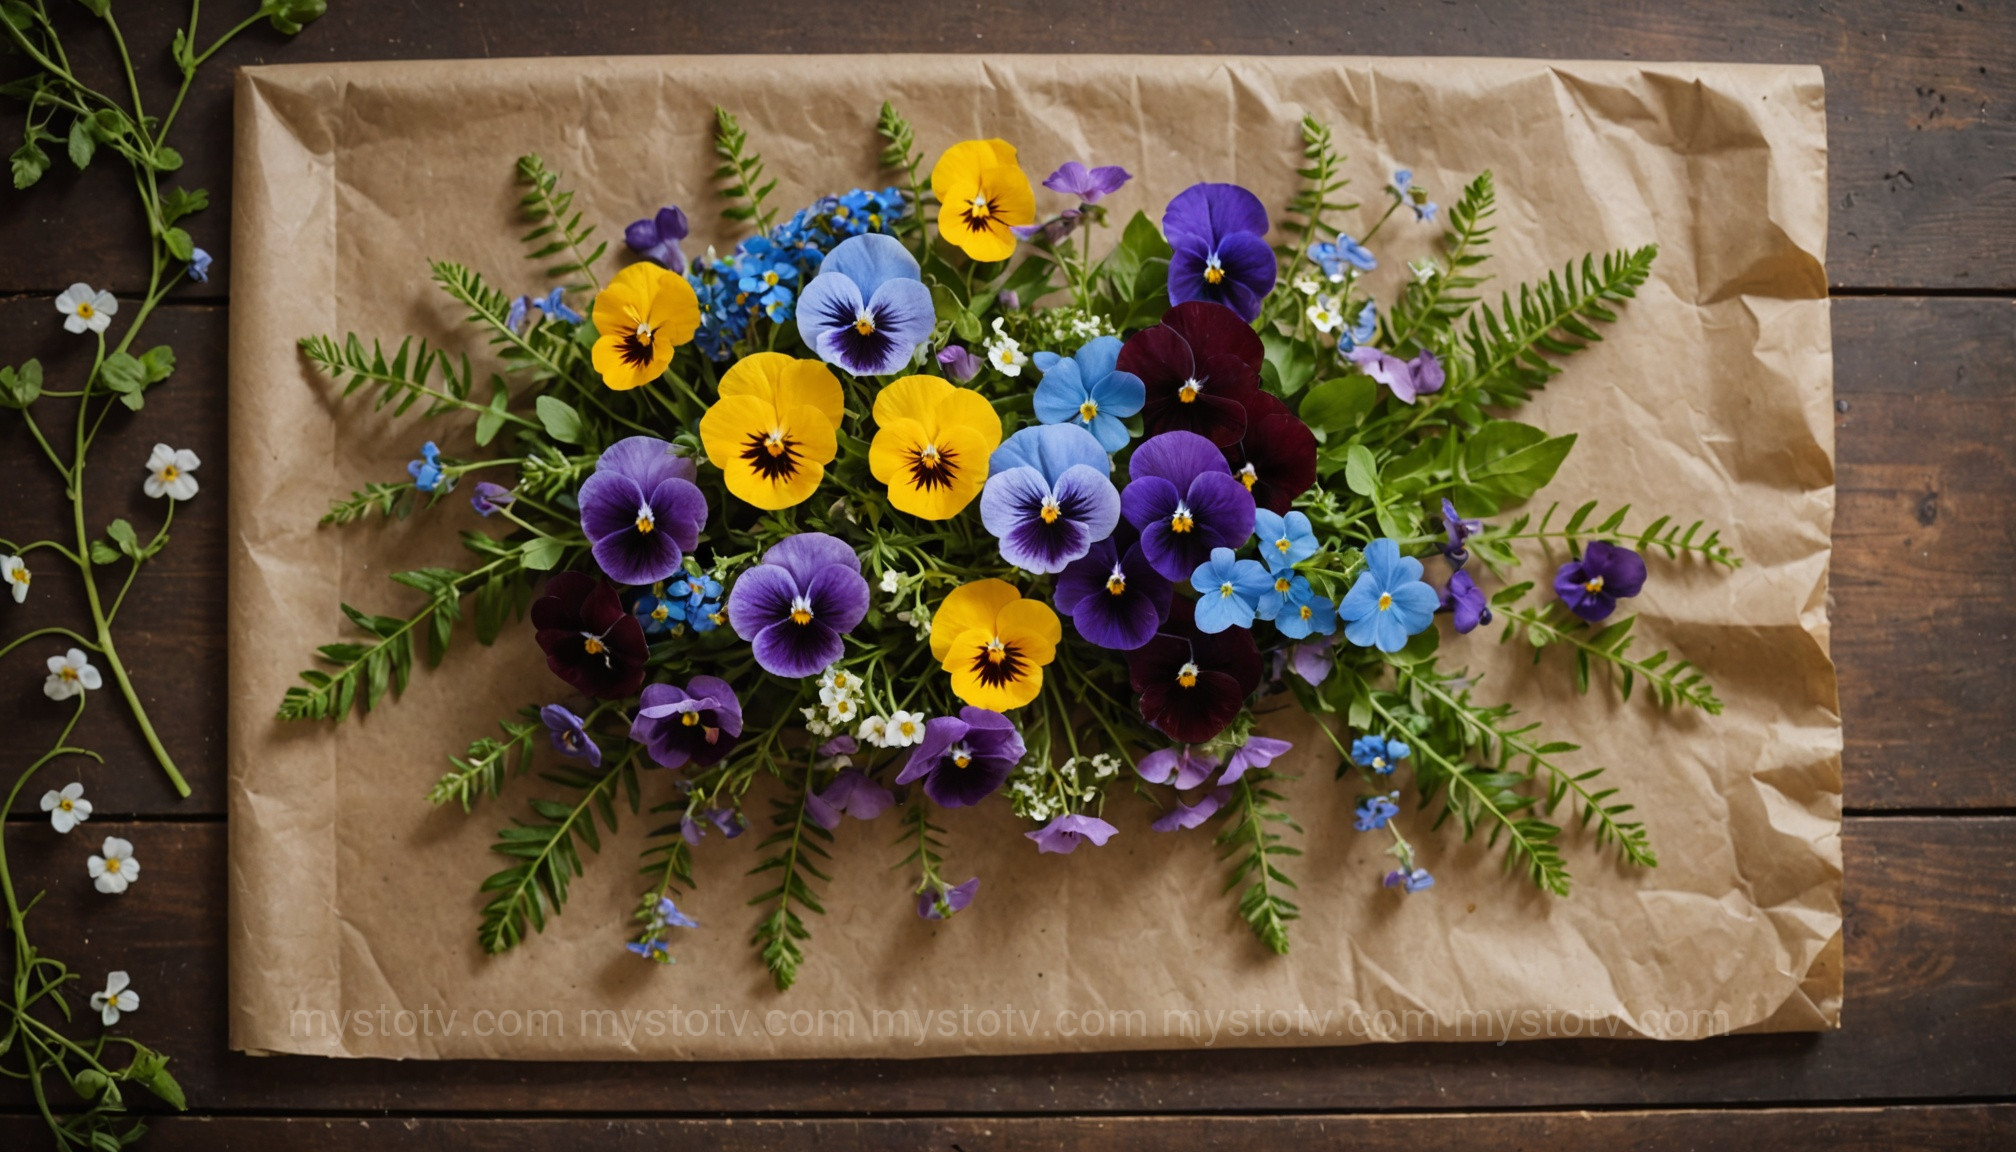
When you're selecting specimens, look for flowers with naturally flat faces and a low moisture content. These are the easiest to work with and yield the most consistent, vibrant results. Think of flowers like violas, pansies, cosmos, and poppies. Their single layer of delicate petals allows them to flatten uniformly without trapping pockets of moisture, which can lead to browning or mold. Ferns, single-petal roses, larkspur, and most herbs are also excellent candidates. A crucial tip is to pick your flowers on a dry day, preferably mid-morning after the dew has evaporated but before the sun has caused them to wilt. The fresher the flower, the more color it will retain.
Flowers to Approach with Caution (or Avoid)
Conversely, some flowers are notoriously difficult to press. Blooms with very thick, fleshy centers or high water content, such as impatiens, begonias, and succulents, are poor choices. Their dense structure makes it nearly impossible to extract all the moisture before decay sets in. Similarly, flowers with complex, multi-layered shapes like a full-bodied rose or a carnation will not flatten well without being deconstructed petal by petal. While not impossible, pressing these types requires advanced techniques, like slicing the flower in half, which can be challenging for beginners focused on learning the core principles of how to press flowers.
The Classic Method: How to Press Flowers Using Books
The book method is the most accessible and nostalgic way to learn how to press flowers. It requires no special equipment, just a heavy book and some absorbent paper. This technique embodies the slow, meditative nature of traditional folk art. However, its simplicity comes with trade-offs. An analysis of this method reveals a delicate balance between applying enough weight for a flat press and ensuring proper airflow to prevent mold. The very paper of the book that provides the pressure can also trap moisture or, if printed with heavy ink, transfer it onto your delicate petals.
Preparing Your Flowers and Book
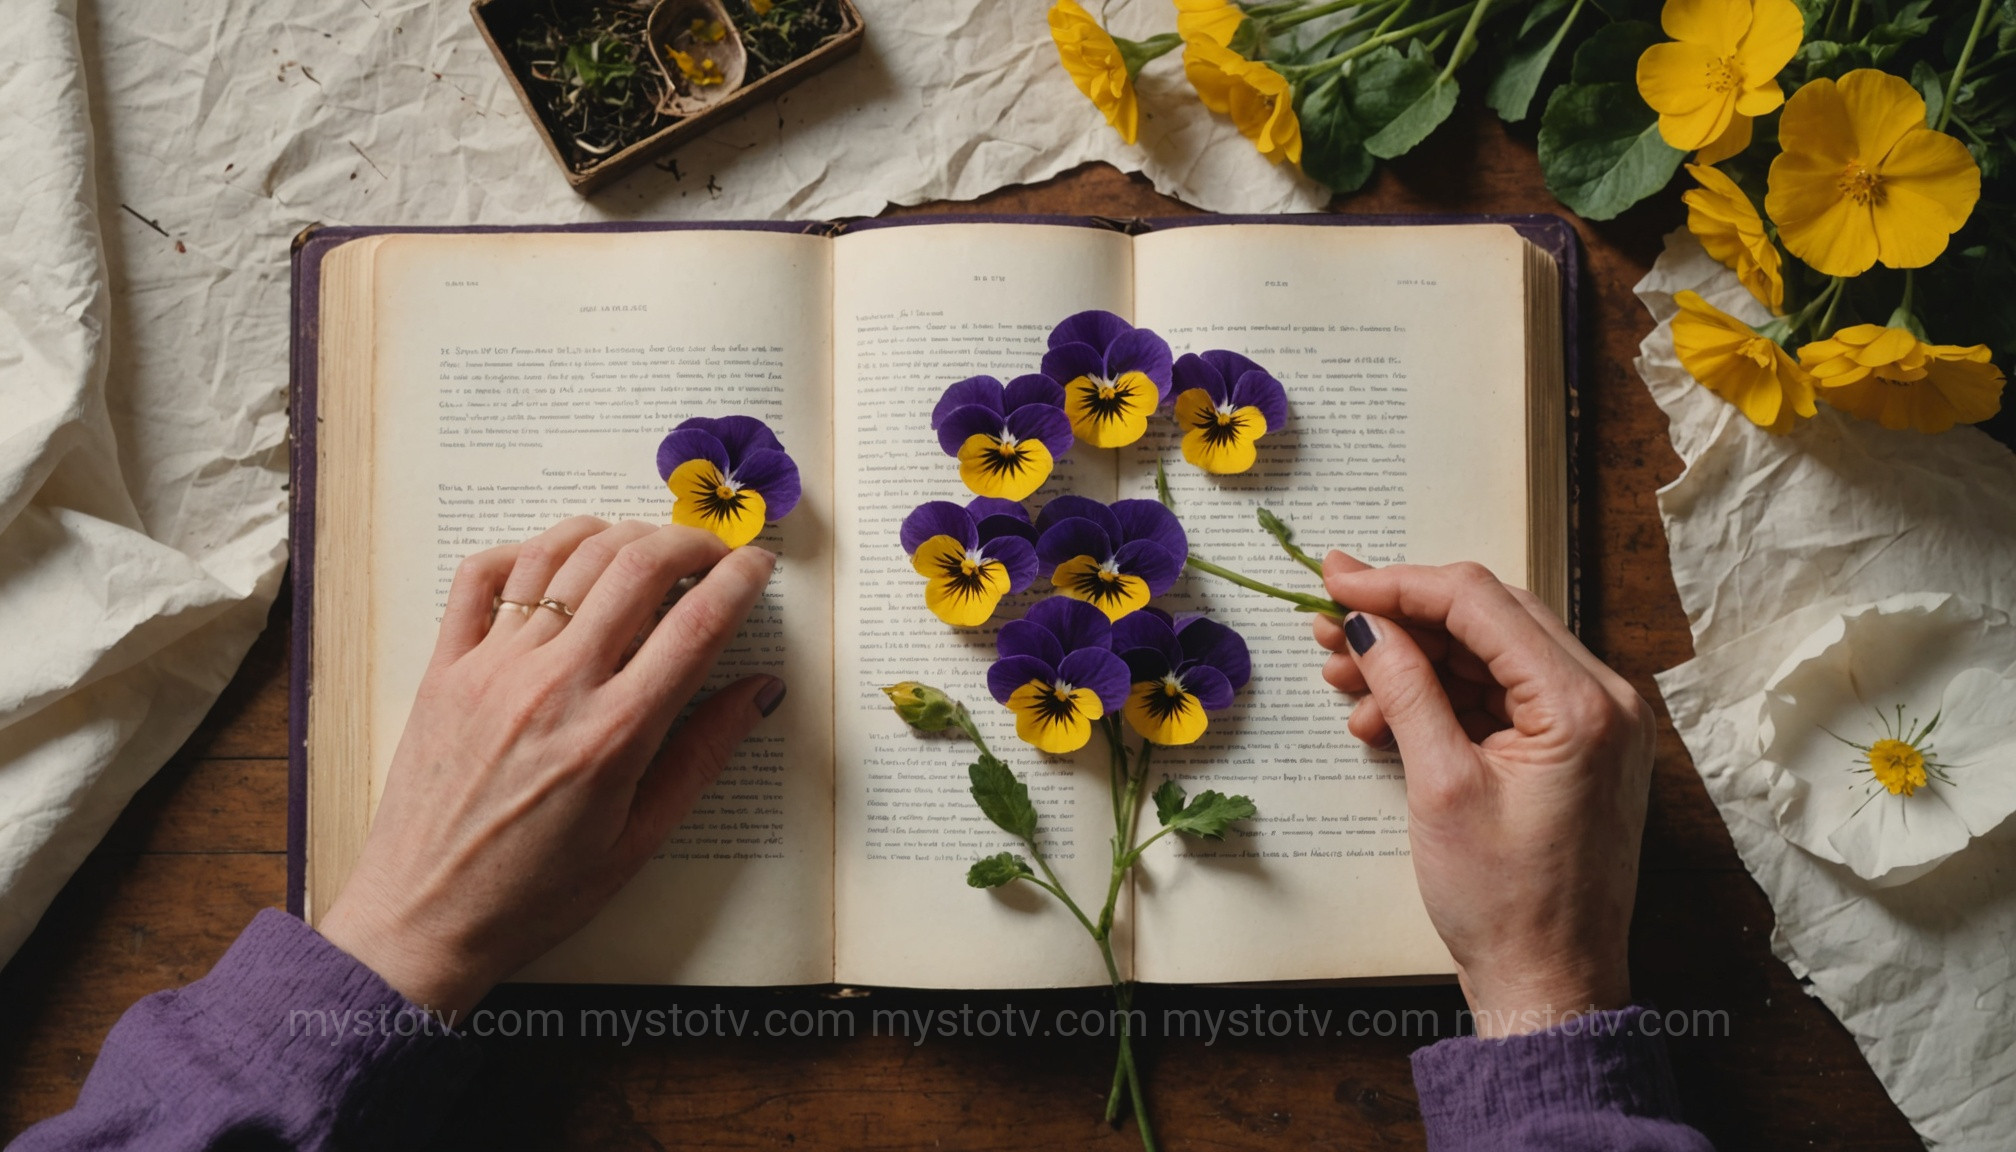
First, select a heavy, substantial book—think old textbooks, dictionaries, or phone books. Avoid glossy pages, as they don't absorb moisture well. The most critical step is to protect both the book and your flowers by creating a sandwich of absorbent paper. Use non-acidic materials like blotting paper, parchment paper, or even a plain coffee filter. Place a sheet of your chosen paper on the book page, arrange your flowers face-down, ensuring they don't overlap, and then cover them with another sheet of absorbent paper before closing the book.
The Pressing Process and Timeline
Once your flowers are tucked inside, place the book in a dry, warm, and well-ventilated area. Stack several more heavy books or a brick on top to ensure firm, even pressure. Now, the waiting game begins. Resist the urge to peek for at least a week. Checking too soon can shift the flowers and ruin the press. After the first week, you can carefully check your progress and, if needed, replace the absorbent paper if it feels damp. The entire process typically takes two to four weeks. The result is a beautifully preserved, albeit more fragile, flower. This method is perfect for those who enjoy the process as much as the outcome and are not in a hurry.
Modern Techniques: How to Press Flowers with a Press or Microwave
For those seeking faster results or a more professional finish, modern tools offer a significant advantage over the traditional book method. Learning how to press flowers with a dedicated press or a microwave elevates the craft by providing superior control over pressure and moisture removal. Analyzing these techniques shows a clear trade-off: what you gain in speed and color retention, you may sacrifice in simplicity and cost. A wooden press offers uniformity, while a microwave offers unparalleled speed, each suited to different creative needs.
Using a Wooden Flower Press
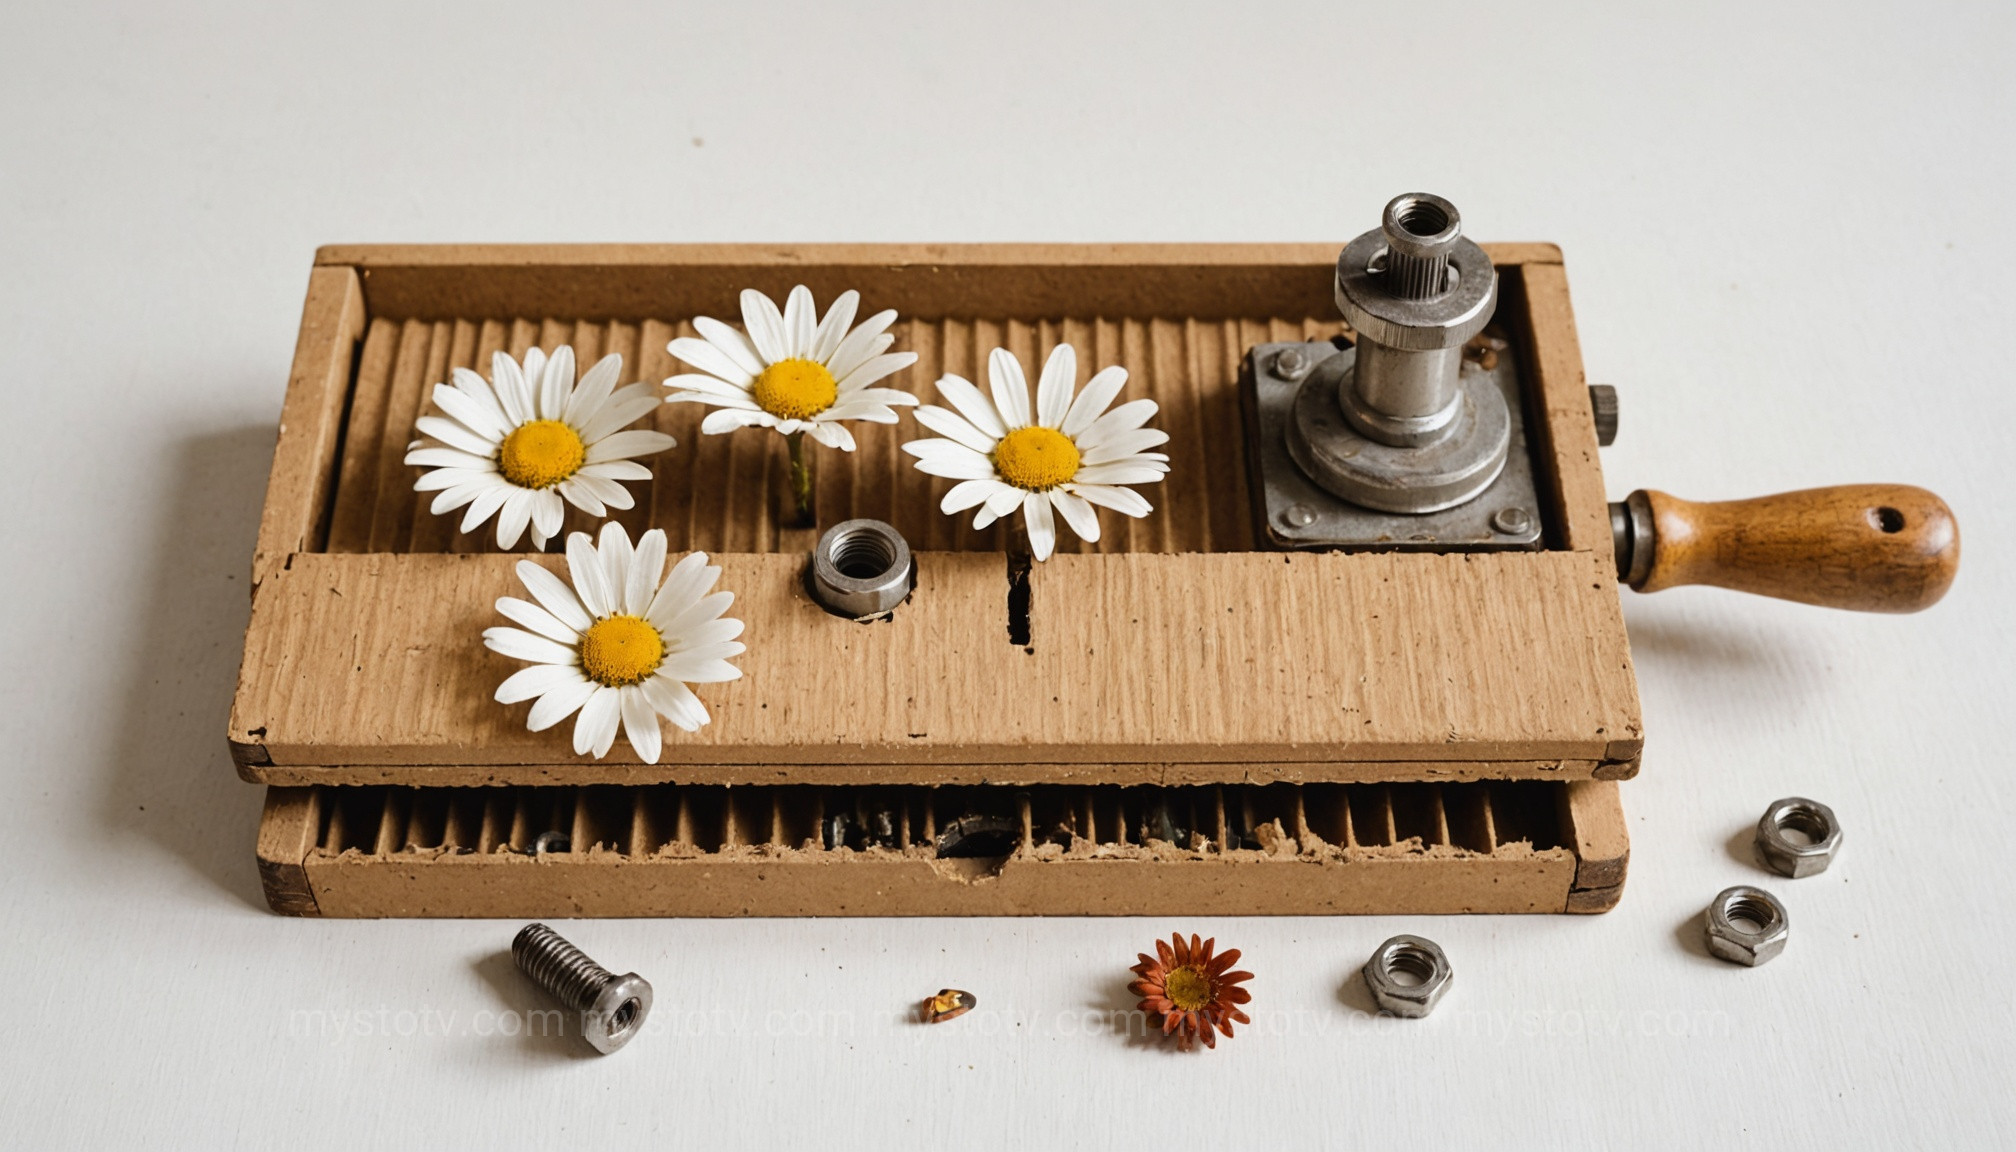
A wooden flower press is essentially a more efficient and purpose-built version of the book method. It consists of two wooden boards connected by bolts and wing nuts, with layers of cardboard and blotting paper in between. The cardboard provides ventilation, allowing moisture to escape more effectively, while the bolts allow you to apply significant, even pressure. The process is similar: you layer your flowers between sheets of blotting paper, which are then sandwiched between pieces of cardboard. Tighten the wing nuts securely and store the press in a dry place. Flowers in a dedicated press typically dry much faster than in a book—often in as little as one to two weeks—and tend to retain their color better due to the improved airflow.
The Microwave Method: A Quick Guide
The microwave is the ultimate shortcut for those who need pressed flowers in a hurry. When you learn how to press flowers using a microwave, you can achieve in minutes what traditionally takes weeks. This method works by using low heat to rapidly vaporize the moisture in the petals. You'll need two ceramic tiles, two rubber bands, and paper towels. Place your flower between two sheets of paper towel, then place this between the two ceramic tiles and secure the bundle with rubber bands. Microwave on a low power setting for 30-60 second intervals, allowing the tiles to cool completely between each burst. The rapid dehydration is exceptional for preserving vibrant colors, especially reds and purples, which can often fade during slower drying processes. While faster than the traditional book pressing method, the microwave requires careful monitoring to avoid scorching the flowers.
Preserving Your Pressed Treasures: How to Press Flowers for Longevity
Your work isn't finished once the flower is flat and dry. The final, and perhaps most crucial, step in understanding how to press flowers is learning how to preserve them. Pressed botanicals are delicate and susceptible to their environment. Moisture and ultraviolet (UV) light are their greatest enemies, causing them to become brittle, reabsorb humidity, and lose their beautiful colors. An analysis of preservation techniques reveals that creating a barrier between the flower and the elements is paramount for turning your fleeting hobby into a lasting work of art.
Sealing Your Flowers
Once fully pressed, your flowers are porous and will readily absorb moisture from the air, especially in humid climates. To protect them, you can apply a sealant. A light mist of an artist-grade spray sealant or a clear acrylic spray can create a protective layer. Always test the spray on a less important flower first, as some sprays can alter the color or transparency of the petals. Apply in a well-ventilated area, using very light, sweeping coats to avoid oversaturating the flower. This step is particularly important for flowers intended for use in crafts like jewelry or phone cases, where they will be handled.
Framing and Displaying Your Work
For framed art, the glass itself provides a significant barrier. To maximize protection, choose frames with UV-protective glass, which will dramatically slow the fading process caused by sunlight. Ensure the frame is sealed tightly at the back to prevent moisture from seeping in. When arranging your flowers, use a tiny dab of acid-free PVA glue to secure them to acid-free paper or cardstock. Display your finished pieces away from direct sunlight and areas of high humidity, such as bathrooms or kitchens, to ensure they remain beautiful for years to come.
Creative Inspiration: Using Your Pressed Flowers in Art and Decor
Learning how to press flowers is only half the fun; the true joy comes from using your preserved botanicals to create something new and beautiful. The delicate, two-dimensional nature of pressed flowers makes them incredibly versatile. An analysis of their artistic application shows that their value lies in their preserved color, intricate shapes, and translucent quality. From minimalist compositions to complex resin crafts, pressed flowers offer a direct connection to nature within your home and personal belongings.
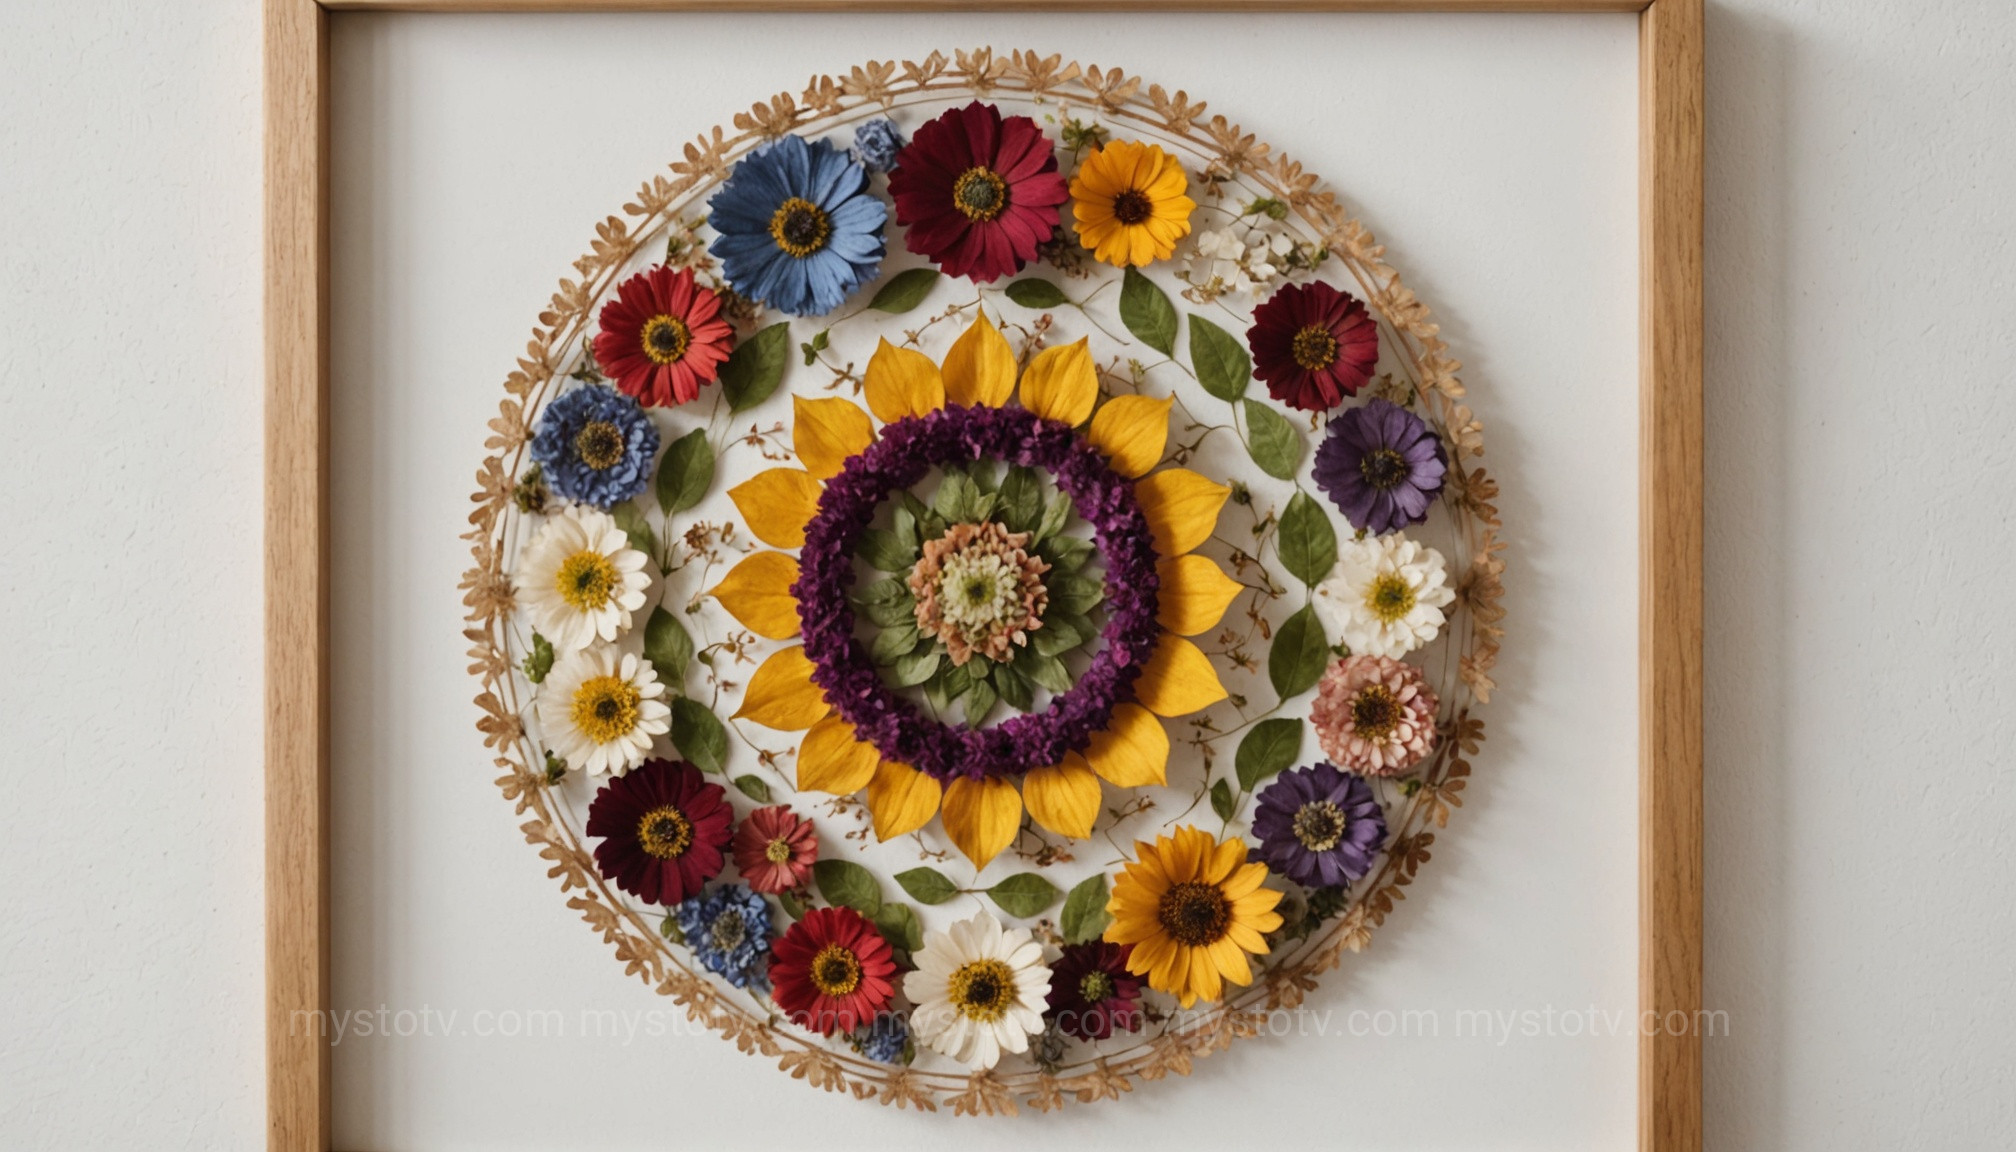
Creating Framed Botanical Art
One of the most classic uses for pressed flowers is framed art. You can create minimalist arrangements with a single, stunning specimen or design intricate collages and mandalas. Experiment with different background colors to make your flowers pop—dark backgrounds can highlight the vibrancy of pale flowers, while a simple white or cream background offers a timeless, elegant look. Playing with floating frames, where the flowers are pressed between two panes of glass, can create a stunning, modern effect that emphasizes the delicate translucency of the petals.
Crafting with Resin and Pressed Flowers
Epoxy resin has opened up a new world of possibilities for pressed flower art. By encasing your dried flowers in resin, you can create durable, waterproof items like coasters, jewelry, keychains, and decorative trays. The crystal-clear resin magnifies the intricate details of each petal and leaf, preserving them in a permanent, glass-like state. When working with resin, ensure your flowers are completely dry and sealed, as any residual moisture can cause clouding and bubbles in the final piece. This medium allows you to carry a piece of your garden with you wherever you go.
From the simple joy of tucking a wildflower into a heavy book to the meticulous process of crafting resin jewelry, the art of pressing flowers is a bridge between nature and creativity. Mastering how to press flowers is a rewarding skill that allows you to pause time, capturing the unique beauty of a season or a special memory. Whether you use the slow, traditional method or modern, faster techniques, the result is the same: a timeless piece of natural art, created by your own hands. So go ahead, gather some blooms, and start preserving your own botanical treasures today.
References
Brooklyn Botanic Garden. (2022). Pressing and Preserving Plants.
Proctor, P. A., & Louttit, B. (1993). The effect of flower-drying method on the colour and quality of six species of everlasting. Journal of the American Society for Horticultural Science, 118(2), 241-245.
