I still have my first mosaic. It’s a small, wobbly depiction of a fish, proudly displayed on a bookshelf. The tiles are uneven, the grout lines are a bit too wide, and it’s far from a museum piece. But every time I look at it, I remember the immense satisfaction of creating something beautiful and lasting with my own hands, connecting with an art form thousands of years old. That first attempt taught me that perfection isn't the goal; the process is. It showed me that anyone with a little patience and a clear guide can learn how to make a roman mosaic at home. This guide is born from that experience—filled with the practical tips and honest insights I wish I’d had when I first started, to help you create your own piece of history.
Contents
- 1 Understanding the Basics Before You Learn How to Make a Roman Mosaic at Home
- 2 Gathering Your Materials: A Checklist for How to Make a Roman Mosaic at Home
- 3 Designing Your Artwork: The First Creative Step in How to Make a Roman Mosaic at Home
- 4 The Core Process: A Detailed Guide on How to Make a Roman Mosaic at Home
- 5 Grouting and Finishing: The Final Touches for How to Make a Roman Mosaic at Home
- 6 Common Mistakes and Pro Tips for How to Make a Roman Mosaic at Home
- 7 Answering Your Questions on How to Make a Roman Mosaic at Home
- 8 Your Own Piece of History
- 9 References
Understanding the Basics Before You Learn How to Make a Roman Mosaic at Home
Before you dive into cutting tiles and mixing glue, taking a moment to understand the context of what you're creating can transform the experience from a simple craft project into a genuine connection with the past. Roman mosaics were not just decorations; they were status symbols, storytelling devices, and durable art forms that adorned the floors and walls of villas from Britain to Syria. Understanding their language and purpose provides a richer foundation for your own creative work.
Analysis: Grasping the history isn't just academic; it informs your creative choices. Knowing that Romans used specific patterns (opus) or depicted mythological scenes can inspire your design. This initial step grounds your practical efforts in a deeper appreciation for the art form, making the process of learning how to make a Roman mosaic at home more meaningful. You're not just sticking tiles to a board; you're participating in a 2,000-year-old tradition.
A Brief History of Roman Mosaics
Roman mosaics evolved from earlier Greek pebble versions. The Romans perfected the art by using small, uniformly cut cubes called tesserae. This allowed for incredible detail, creating images that resembled paintings—a style often referred to as "painting with stone." They decorated everything from the grand floors of public baths to the intimate spaces of private homes. Common motifs included geometric patterns, scenes from mythology, depictions of daily life, and nature. The famous "Cave Canem" (Beware of the Dog) mosaic in Pompeii is a perfect example of their wit and artistry.
Key Terminology: Speaking the Language of Mosaics
Knowing a few key terms will help you follow instructions and understand the craft better.
-
- Tesserae (singular: tessera): The small cubes of stone, glass, or ceramic used to create the mosaic.
-
Substrate:
-
- The base or surface onto which you apply the tesserae (e.g., a wooden board, a stepping stone). -
Adhesive:
-
- The glue used to stick the tesserae to the substrate. This can range from simple craft glue to professional-grade thin-set mortar. -
Grout:
-
- The filler material you spread over the finished mosaic to fill the gaps between the tesserae, locking them in place and creating a unified surface. -
Andamento:
-
- The visual flow and direction in which the tesserae are laid. This is a key element that gives a mosaic life and movement. -
Opus:
-
- The Latin word for "work," used to describe the style of the mosaic.
Opus tessellatum
-
- refers to the common grid-like pattern, while
opus vermiculatum
- uses tiny, worm-like lines of tesserae to create fine detail.
Gathering Your Materials: A Checklist for How to Make a Roman Mosaic at Home

One of the best parts of this DIY project is that you don't need a professional artist's studio. Most materials are readily available at craft stores or hardware stores. Assembling everything beforehand makes the creative process smooth and enjoyable.
Analysis: The accessibility of modern materials is what makes learning how to make a Roman mosaic at home so feasible today. While Romans used marble and stone, we can achieve stunning results with affordable glass tiles and powerful adhesives they could only dream of. This section bridges the gap between ancient techniques and modern convenience, empowering you to start without a hefty investment.
The Tesserae: Your Mosaic's Building Blocks
For your first project, pre-cut glass or ceramic mosaic tiles (usually 1cm or 2cm square) are the easiest to use. They come in a vast array of colors and are relatively uniform. You can also purchase un-nipped tiles and a pair of wheeled tile nippers to cut your own custom shapes, which is essential for more complex designs.
The Substrate: Choosing Your Canvas
Your choice of base depends on where the finished piece will live.
-
- For indoor display: A piece of MDF (Medium-Density Fibreboard) or sturdy plywood is perfect. Coasters or small trivets also make great beginner substrates.
-
For outdoor/wet areas:
- Use a cement backer board or a terracotta stepping stone, as wood will warp when exposed to moisture.
Adhesives and Grout: The Glue and Filler
For indoor projects with glass or ceramic tiles, a good quality PVA glue or a dedicated mosaic adhesive will work well. For outdoor or heavy-duty projects, you’ll need a waterproof, cement-based thin-set mortar. For grout, you can buy it pre-mixed or as a powder that you mix with water. A neutral color like grey or charcoal often makes the colors of the tesserae pop.
Essential Tools for the Modern Mosaicist
Beyond the core components, a few tools will make your life much easier:
-
- Wheeled Tile Nippers: For cutting tesserae.
-
Tweezers:
-
- For precise placement of small tiles. -
Spatula or Palette Knife:
-
- For spreading adhesive. -
Grout Float or Squeegee:
-
- For applying grout. -
Sponges and soft cloths:
-
- For cleaning off excess grout. -
Safety Goggles:Crucial
- when cutting tiles to protect your eyes from sharp slivers.
Designing Your Artwork: The First Creative Step in How to Make a Roman Mosaic at Home
This is where your vision begins to take shape. Roman artists drew inspiration from their world, and so can you. The key is to choose a design that is achievable for your skill level while still being exciting to you.
Analysis: The design phase is a delicate balance. While it's tempting to replicate a complex masterpiece from Pompeii, a successful first project builds confidence. This section encourages a smart approach: study the masters for inspiration on flow and color, but simplify the form. This analytical approach to design ensures you won't get frustrated and abandon the project, a common pitfall for newcomers learning how to make a Roman mosaic at home.
Finding Inspiration from Ancient Rome and Beyond
Look at pictures of historical Roman mosaics online. Museum websites, like those of The Getty Villa or the British Museum, are fantastic resources. Notice the simple geometric borders, stylized animals, or elegant knots. For a first project, a simple geometric pattern, a piece of fruit, a fish, or an initial are excellent choices. Keep your design bold with clear outlines, as intricate details are difficult to achieve at first.
Creating Your 'Cartoon': The Blueprint for Your Mosaic
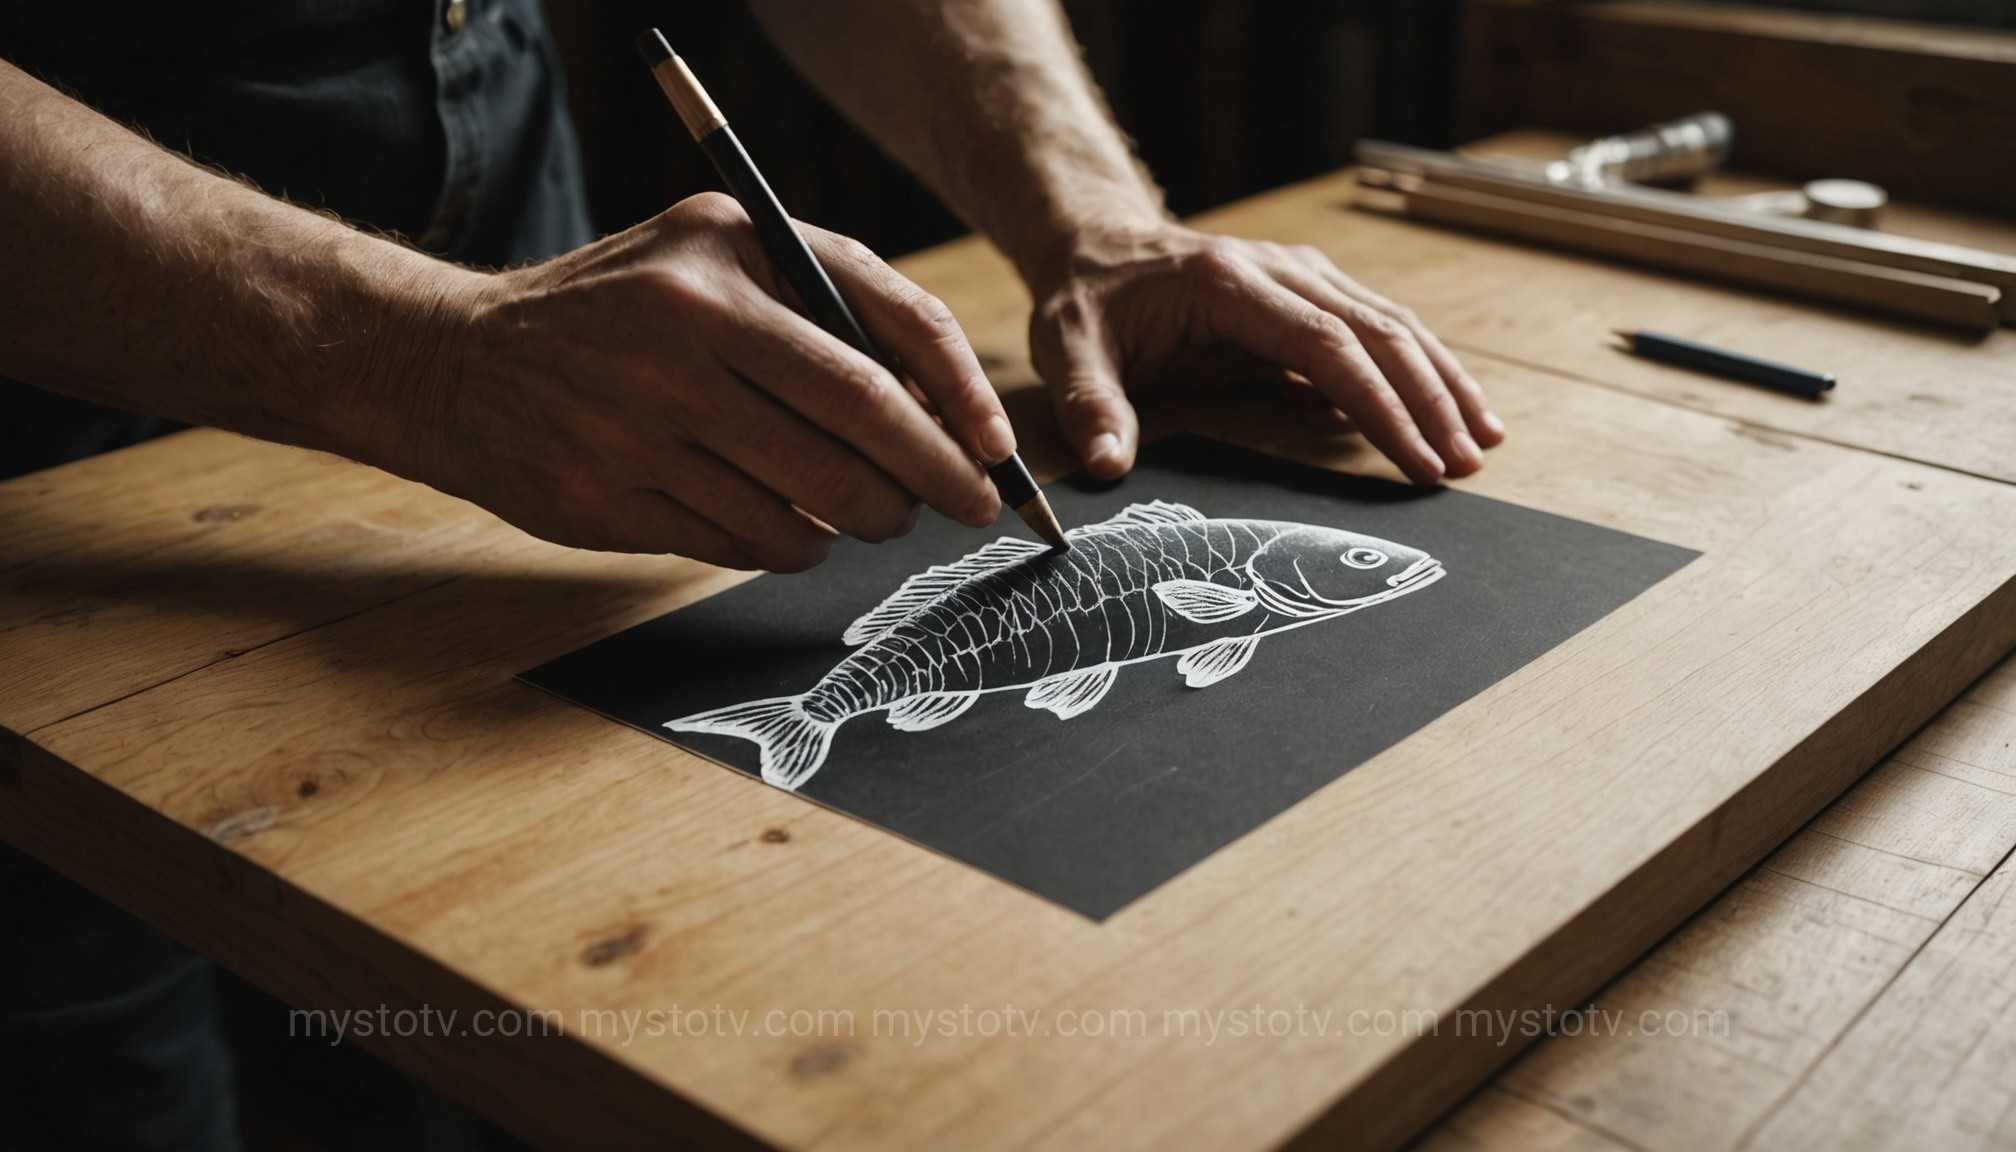
In the art world, a preparatory drawing is called a "cartoon." Create your design on paper to the exact size of your substrate. Once you are happy with it, transfer it to the substrate using carbon paper. This gives you clear lines to follow as you lay your tesserae. Don't worry about including too much detail in the drawing; think of it as a coloring book outline.
The Core Process: A Detailed Guide on How to Make a Roman Mosaic at Home
With your design transferred and materials at the ready, it's time for the most meditative and rewarding part of the process: laying the tiles. We will be using the direct method, which involves gluing the tesserae directly onto the substrate. It's the most straightforward technique for beginners.
Analysis: The direct method is chosen here for its immediacy. It allows the artist to see the composition evolve in real-time, making it an intuitive way to learn about spacing and flow (andamento). This contrasts with the indirect method (assembling the mosaic face-down on paper), which is more precise but less forgiving for a beginner. This section focuses on the direct method as the ideal entry point for anyone learning how to make a Roman mosaic at home.
Step 1: Preparing Your Substrate and Workspace
Ensure your substrate is clean and dry. If using wood, you might want to seal it with a primer first to prevent the adhesive's moisture from warping it. Work in a small section at a time. Spread a thin, even layer of adhesive onto a small part of your design using a spatula.
Step 2: Laying the Tesserae (The 'Andamento')
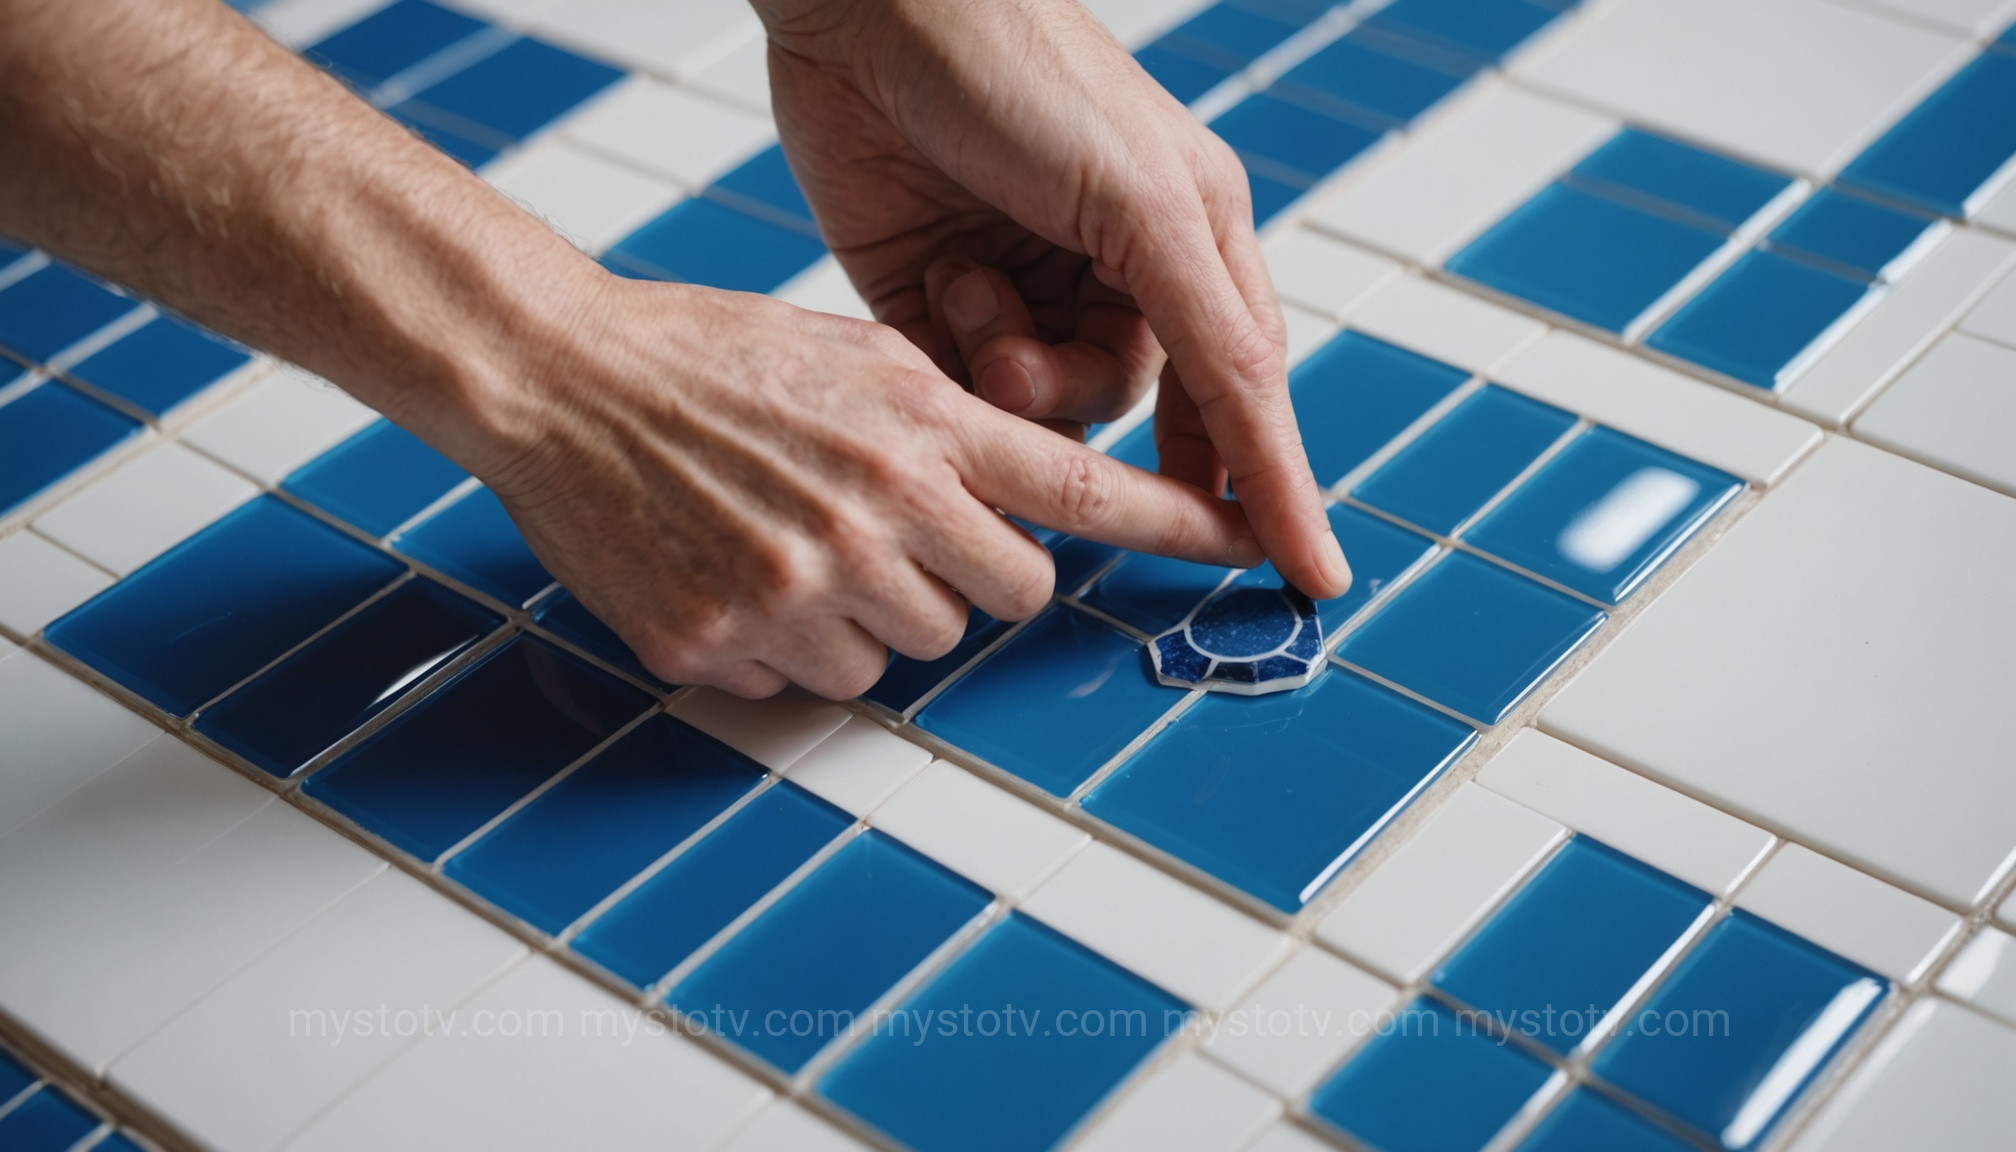
Begin by laying the tesserae that form the outline of your main subject. This helps define the shape. Then, fill in the interior. As you place each tile, press it down gently into the adhesive. Use your tweezers for precise placement. Pay attention to the spacing between the tiles—aim for a consistent, small gap (about 1-2mm) that the grout will later fill. This gap is as important as the tile itself. Try to follow the "andamento," letting your tiles flow in a direction that enhances the shape. For example, lay tiles in curved lines for a fish's body, or in radiating lines for a sun.
Step 3: Curing and Patience
Once you have placed all your tesserae, you must let the adhesive cure completely. This is a critical step! Resist the urge to move on to grouting too soon. Check the manufacturer's instructions, but typically this requires at least 24-48 hours. Place the mosaic in a safe, dry place where it won't be disturbed.
Grouting and Finishing: The Final Touches for How to Make a Roman Mosaic at Home
Grouting is the magical step that transforms your project from a collection of individual tiles into a solid, unified piece of art. It can be messy, so be sure to lay down newspaper and wear old clothes and gloves.
Analysis: Grouting does more than just fill gaps; it provides structural integrity and aesthetic unity. The choice of grout color dramatically affects the final look—a dark grout makes colors appear more vibrant, while a light grout gives a softer, more subtle effect. This section emphasizes that grouting is not just a mechanical step but a final, crucial artistic decision in the journey of how to make a Roman mosaic at home.
Mixing and Applying the Grout
If using powdered grout, mix it with water in a disposable container until it reaches the consistency of thick peanut butter. Let it sit for a few minutes to "slake" (absorb the water fully). Then, scoop a generous amount onto your mosaic and, using a grout float or squeegee, spread it over the entire surface. Work the grout into all the gaps from multiple angles to ensure there are no air pockets.
The Big Clean-Up: Removing Excess Grout
Once the gaps are filled, use the float to scrape off as much excess grout from the surface of the tiles as possible. Let the grout set for about 15-20 minutes, until it's slightly hazy. Then, using a damp (not wet!) sponge, gently wipe the surface to clean the tesserae. Rinse your sponge frequently in a bucket of clean water. You may need to do several passes. After a few hours, a final haze might appear, which you can buff off with a dry, soft cloth.
Sealing Your Masterpiece
After the grout has fully cured (another 24-72 hours, check the packaging), it's a good idea to apply a grout and tile sealer. This will protect your mosaic from stains and moisture, especially if it's a functional item like a coaster or an outdoor piece.
Common Mistakes and Pro Tips for How to Make a Roman Mosaic at Home
Every artist makes mistakes. The key is to learn from them. Here are some common pitfalls and tips to help you create a piece you can be proud of.
Analysis: This section provides immense value by anticipating the user's future problems. By openly discussing what can go wrong—like uneven spacing or using too much water during cleanup—the guide builds trust and authority. It shifts from being a simple set of instructions to a mentorship role, offering the kind of wisdom that usually only comes from experience. This is critical for anyone serious about learning how to make a Roman mosaic at home.
Avoiding Common Pitfalls
-
- Inconsistent Gaps: The most common beginner mistake. Try to keep the space between tiles as uniform as possible for a professional look.
- Using a Wet Sponge: When cleaning grout, a sponge that's too wet can pull the fresh grout right out of the gaps. Wring it out thoroughly.
-
A Design That's Too Complex:
- Start simple. You'll be much happier with a well-executed simple design than a poorly-executed complex one.
Pro-Tips for a Polished Look
-
- "Butter" the back of tiles: For larger tesserae, apply a small amount of adhesive to the back of the tile itself before placing it to ensure a strong bond.
-
Work from outline to center:
-
- This helps contain your shapes and keep the design crisp. -
Consider the grout color:
-
- Test your grout color on a few spare tiles to see how it affects your tesserae colors before committing to the whole piece.
- if you need a refresher.
Answering Your Questions on How to Make a Roman Mosaic at Home
Here are answers to a few common questions that come up when starting your first mosaic project.
Can I use broken dishes or found objects for tesserae?
Absolutely! This is known as "pique assiette" or memory ware. It's a wonderful way to create a personal and recycled piece of art. Just be aware that the varied thickness of broken china can make grouting more challenging. Ensure you wear heavy-duty gloves and safety goggles when breaking plates and handling sharp edges.
Is this a safe and suitable project for kids?
Mosaic making can be adapted for children, but with modifications. Use pre-cut plastic or smooth-edged glass tiles, and avoid tile nippers. Use non-toxic craft glue instead of mortar. Grouting should always be done by an adult, as grout can irritate the skin. With supervision, it's a fantastic tactile and creative activity.
What's the difference between the direct and indirect methods of making a mosaic?
We've used the direct method, where tiles are glued directly onto the final surface. The indirect method involves temporarily gluing the mosaic face-down onto paper, then pressing the whole sheet into a bed of mortar on the final surface. After it sets, the paper is washed off. This method is used for large-scale architectural installations to ensure a perfectly flat surface but is more complex for a beginner learning how to make a roman mosaic at home.
Your Own Piece of History
There you have it—a complete journey from a blank board to a finished piece of art. The process of creating a mosaic is a slow, deliberate act of building something beautiful one small piece at a time. It teaches patience and an appreciation for detail. As you clean off that final layer of grout haze and reveal the vibrant, unified colors beneath, you’ll feel an incredible sense of accomplishment. You haven’t just completed a craft project; you’ve learned how to make a roman mosaic at home, creating a durable piece of art that echoes a timeless tradition.
References
- The Getty. "Roman Mosaics Collection." The J. Paul Getty Museum. Accessed 2023.
- Cartwright, Mark. "Roman Mosaics." World History Encyclopedia. Published 10 March 2017. https://www.worldhistory.org/Roman_Mosaics/
