Contents
- 1 The Lost Art of Mending: Why Learning How to Darn a Sock Matters Today
- 2 Gathering Your Arsenal: Essential Tools for How to Darn a Sock
- 3 The Step-by-Step Guide on How to Darn a Sock Like a Pro
- 4 Beyond the Basics: Creative Approaches to How to Darn a Sock
- 5 Frequently Asked Questions About Darning
- 6 Conclusion: Stitching Sustainability Into Your Life
- 7 References
The Lost Art of Mending: Why Learning How to Darn a Sock Matters Today
In an era of fast fashion, where clothes are often cheaper to replace than to repair, the art of mending has been largely forgotten. However, as we become more aware of our environmental footprint, skills like darning are experiencing a powerful resurgence. The textile industry is a significant contributor to global waste; in the U.S. alone, the Environmental Protection Agency reported that 11.3 million tons of textiles ended up in landfills in 2018. Learning how to darn a sock is a direct and personal response to this crisis.
Analysis: Mending is an act of rebellion against consumer culture. By choosing to repair an item, you are assigning it value beyond its initial purchase price. This simple act reclaims your agency as a consumer, shifting your role from a passive buyer to an active caretaker of your belongings. It fosters a deeper connection with your clothes, embedding them with stories of care and continued use. This folk skill, once a necessity born of scarcity, is now a conscious choice for sustainability, transforming a mundane chore into a meaningful practice.
Gathering Your Arsenal: Essential Tools for How to Darn a Sock
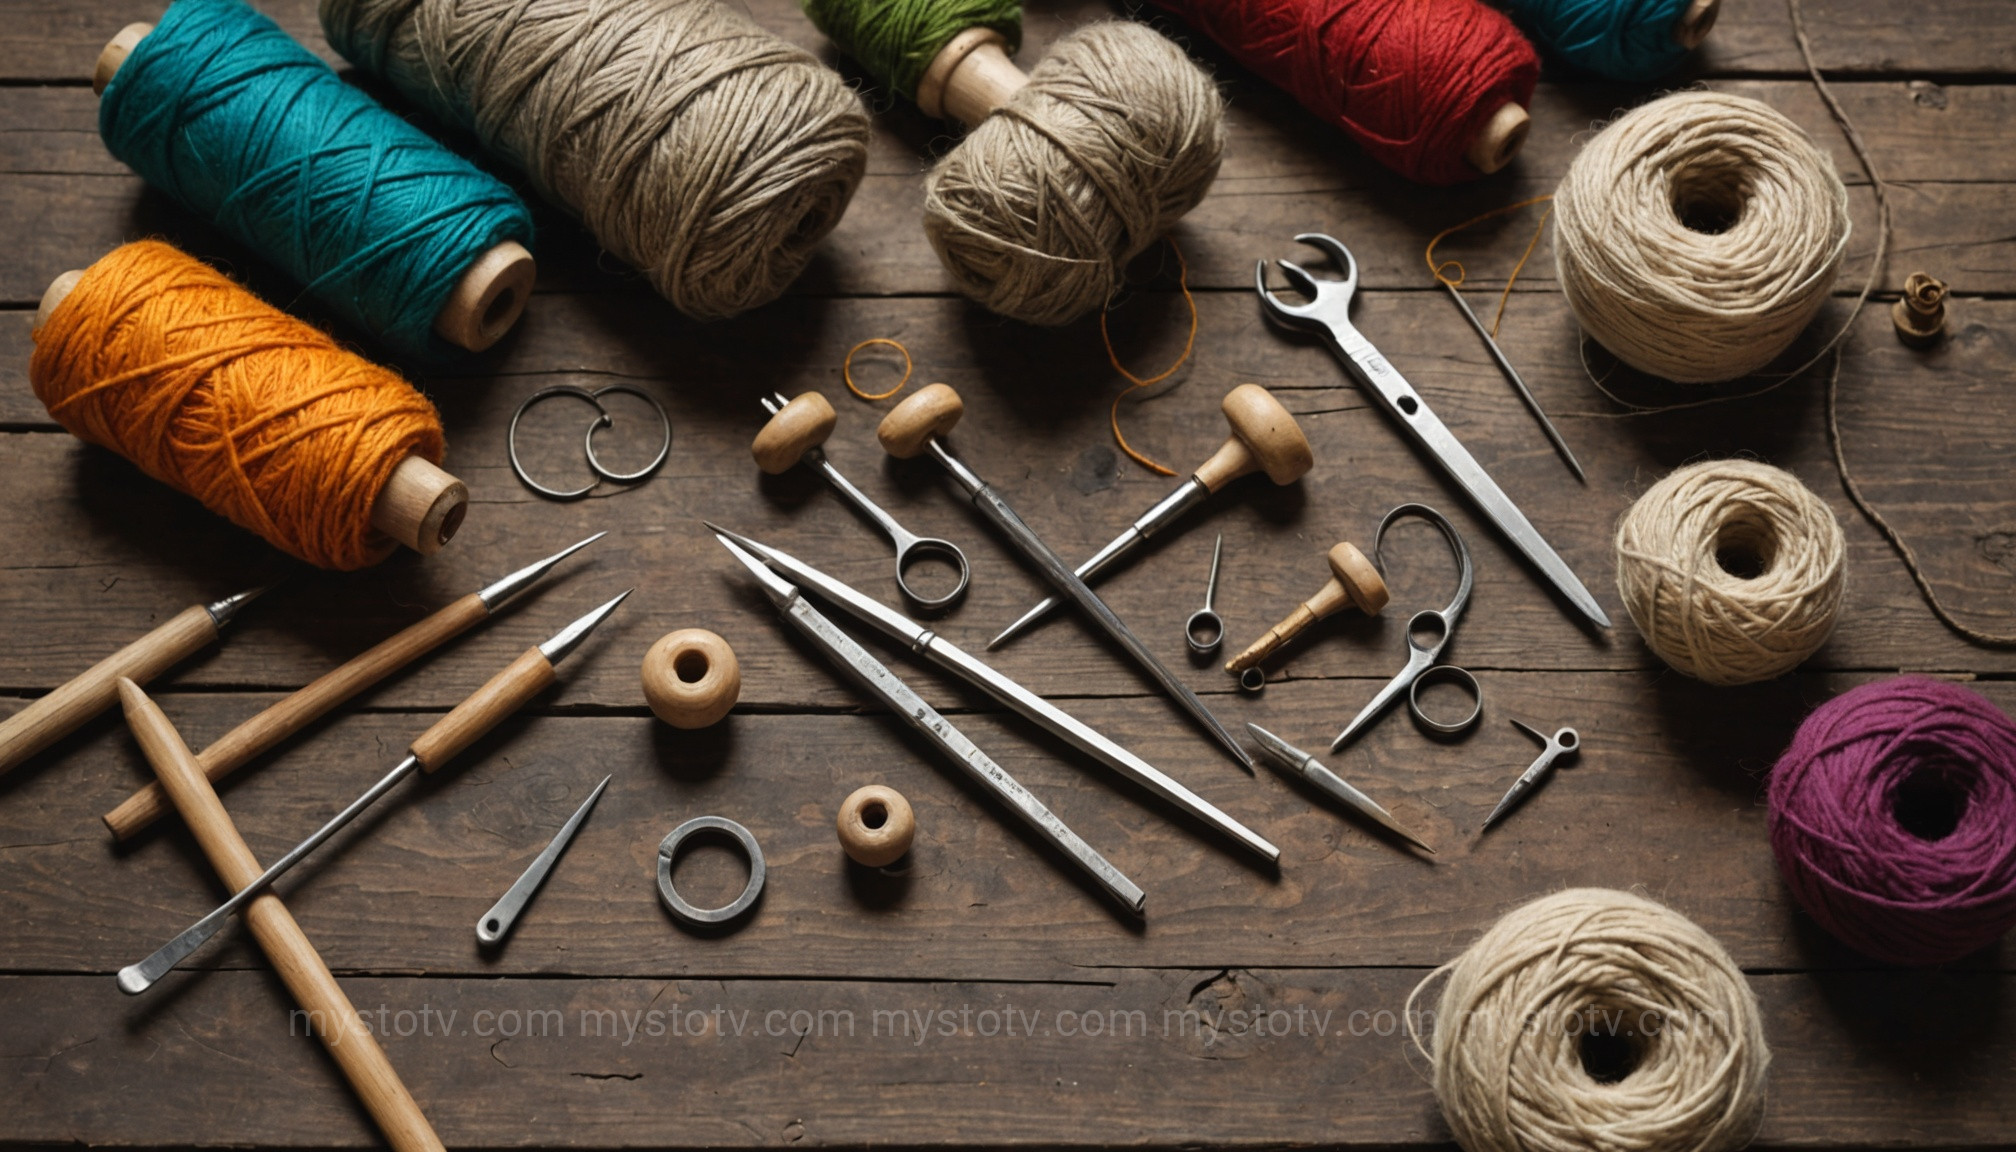
Before you can begin the satisfying process of saving your favorite socks, you’ll need to gather a few simple tools. You don't need anything fancy or expensive; in fact, you might already have some of these items at home. Getting the right tools makes learning how to darn a sock much easier.
A Darning Needle
This isn't your average sewing needle. Darning needles are typically longer and thicker, with a large eye that can easily accommodate yarn or embroidery floss. The blunt tip is designed to slide between the threads of the fabric without splitting them, which is crucial for a clean repair.
Darning Yarn or Thread
The ideal darning yarn should match the material of your sock as closely as possible. For wool socks, use wool yarn. For cotton socks, cotton embroidery floss works well. Try to match the thickness, too. Using a yarn that's too thick will create a bulky, uncomfortable patch, while one that's too thin won't be strong enough to hold.
A Darning Egg or Mushroom
This is a hard, smooth, curved object used to hold the area around the hole taut while you work. It provides a stable surface and mimics the shape of a foot (or heel/toe), ensuring the repaired patch doesn't pucker or tighten the sock. If you don't have a darning mushroom, a lightbulb, a smooth rock, or even a tennis ball can work in a pinch.
The Step-by-Step Guide on How to Darn a Sock Like a Pro
With your tools assembled, you're ready to tackle that hole. The basic technique involves weaving a new patch of fabric directly over the hole using your needle and thread. Don't be intimidated; the process is rhythmic and surprisingly meditative. Follow these steps for how to darn a sock and you'll be mending in no time.
Step 1: Preparation
First, turn the sock inside out. Place your darning mushroom or egg inside the sock, positioning it directly under the hole. Gently stretch the fabric over the mushroom so the area around the hole is flat and taut. Trim away any frayed or messy threads around the edge of the hole with your scissors for a cleaner start. Thread your darning needle but don't tie a knot in the end—you'll weave the tail in later to avoid a lumpy knot.
Step 2: Creating the Warp (Vertical Threads)
Starting about a quarter-inch outside the hole on one side, begin stitching a series of parallel vertical lines across the opening. Use a simple running stitch in the sound fabric, and let the thread float over the hole itself. Continue these lines until you have covered the entire hole and anchored your stitches in the solid fabric on the other side. These are your "warp" threads, forming the foundation of your new patch.
Step 3: Weaving the Weft (Horizontal Threads)
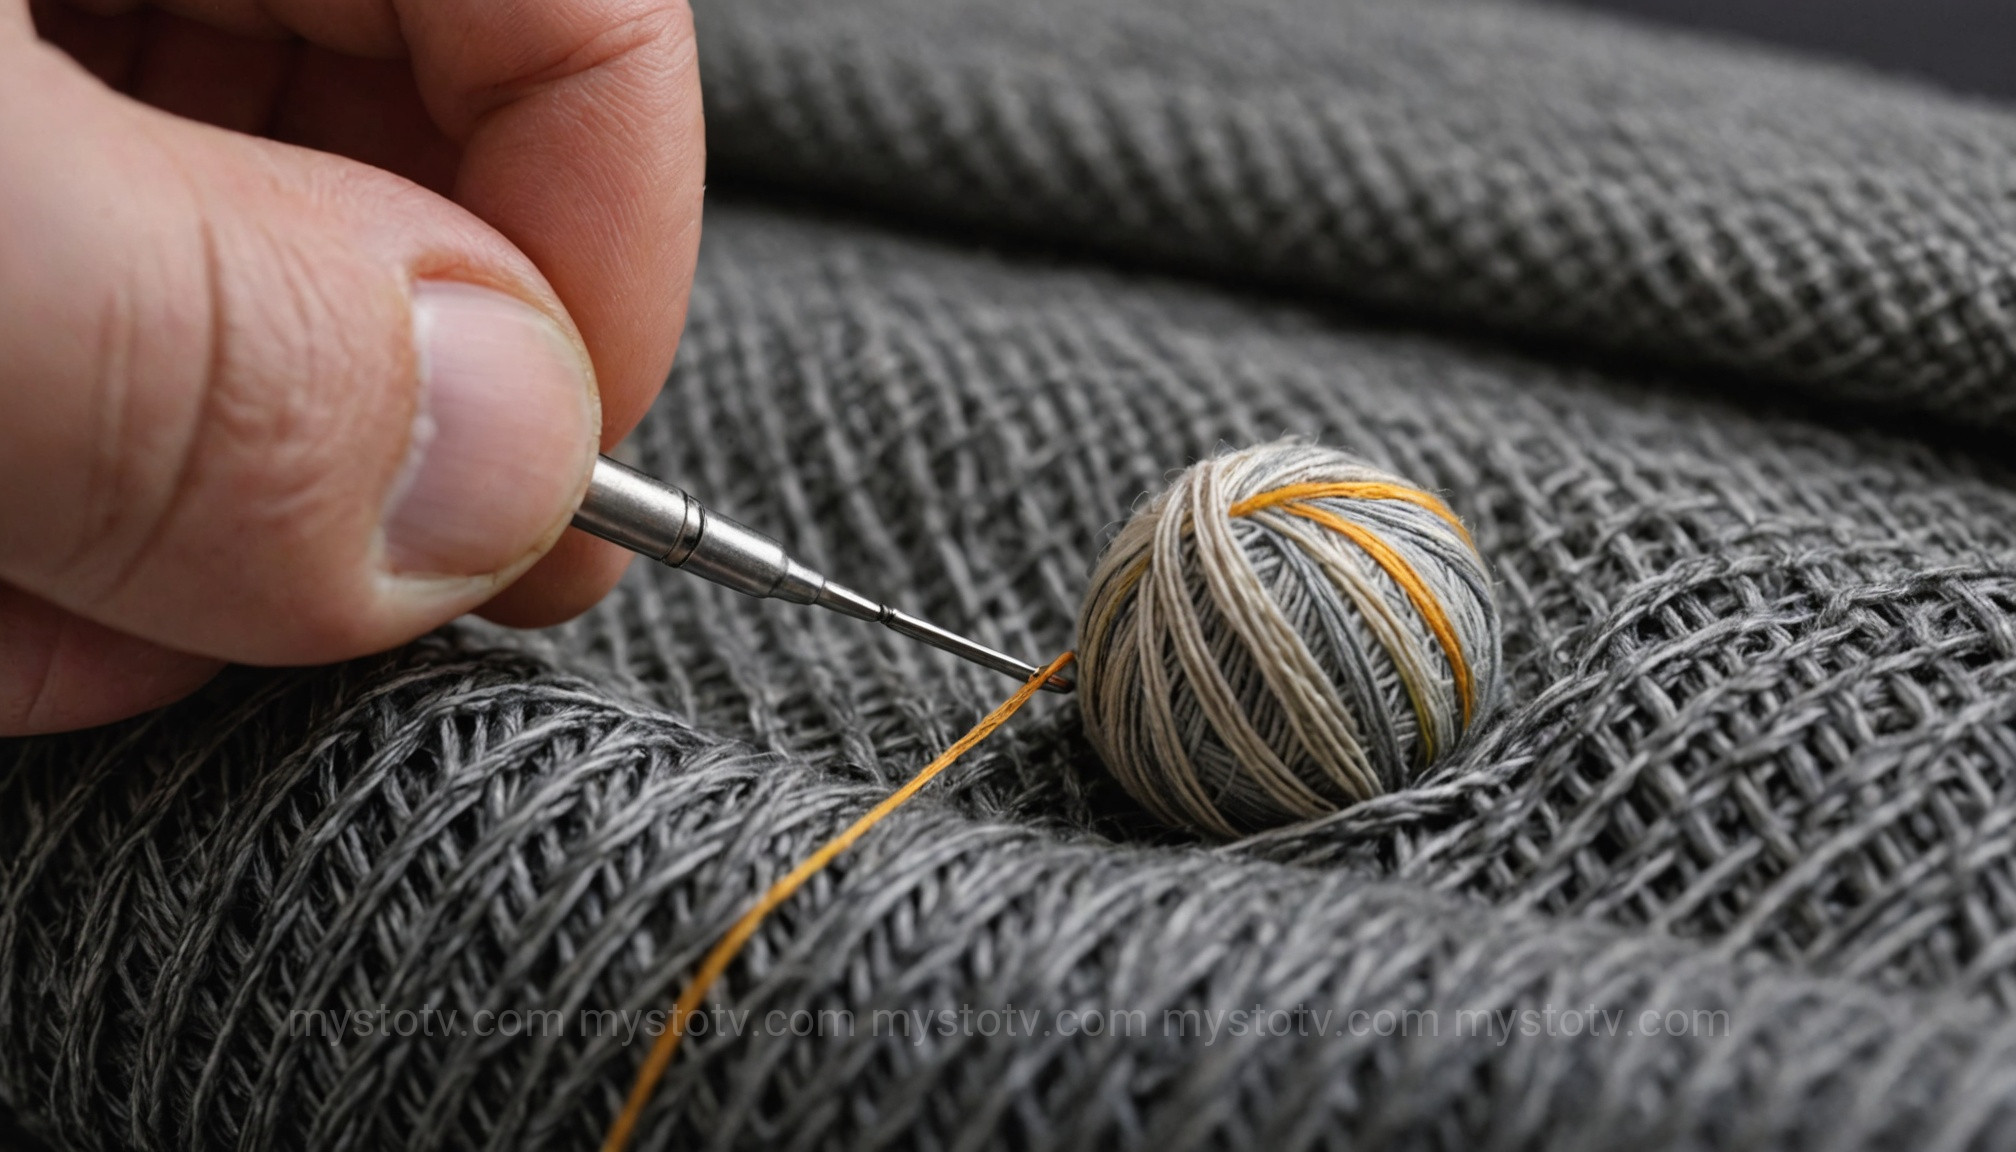
Now, you'll weave your "weft" threads horizontally. Turn your work 90 degrees. Starting from the outside edge of your vertical stitches, begin weaving your needle over and under each vertical thread. When you reach the other side, make a small stitch into the fabric to turn around, and then weave back in the opposite direction, going under the threads you went over, and over the threads you went under. Gently pull the thread snug, but not too tight, to create a solid woven patch. Continue until the entire area is filled. This part of learning how to darn a sock is the most crucial for a strong repair.
Step 4: Finishing Touches
Once the hole is completely covered with your new woven patch, it's time to secure the thread. Instead of a knot, weave the tail end of your yarn through the back of the stitches on the inside of the sock for about an inch. Snip the excess thread. Do the same with the starting tail. Turn the sock right-side out and admire your handiwork!
Beyond the Basics: Creative Approaches to How to Darn a Sock
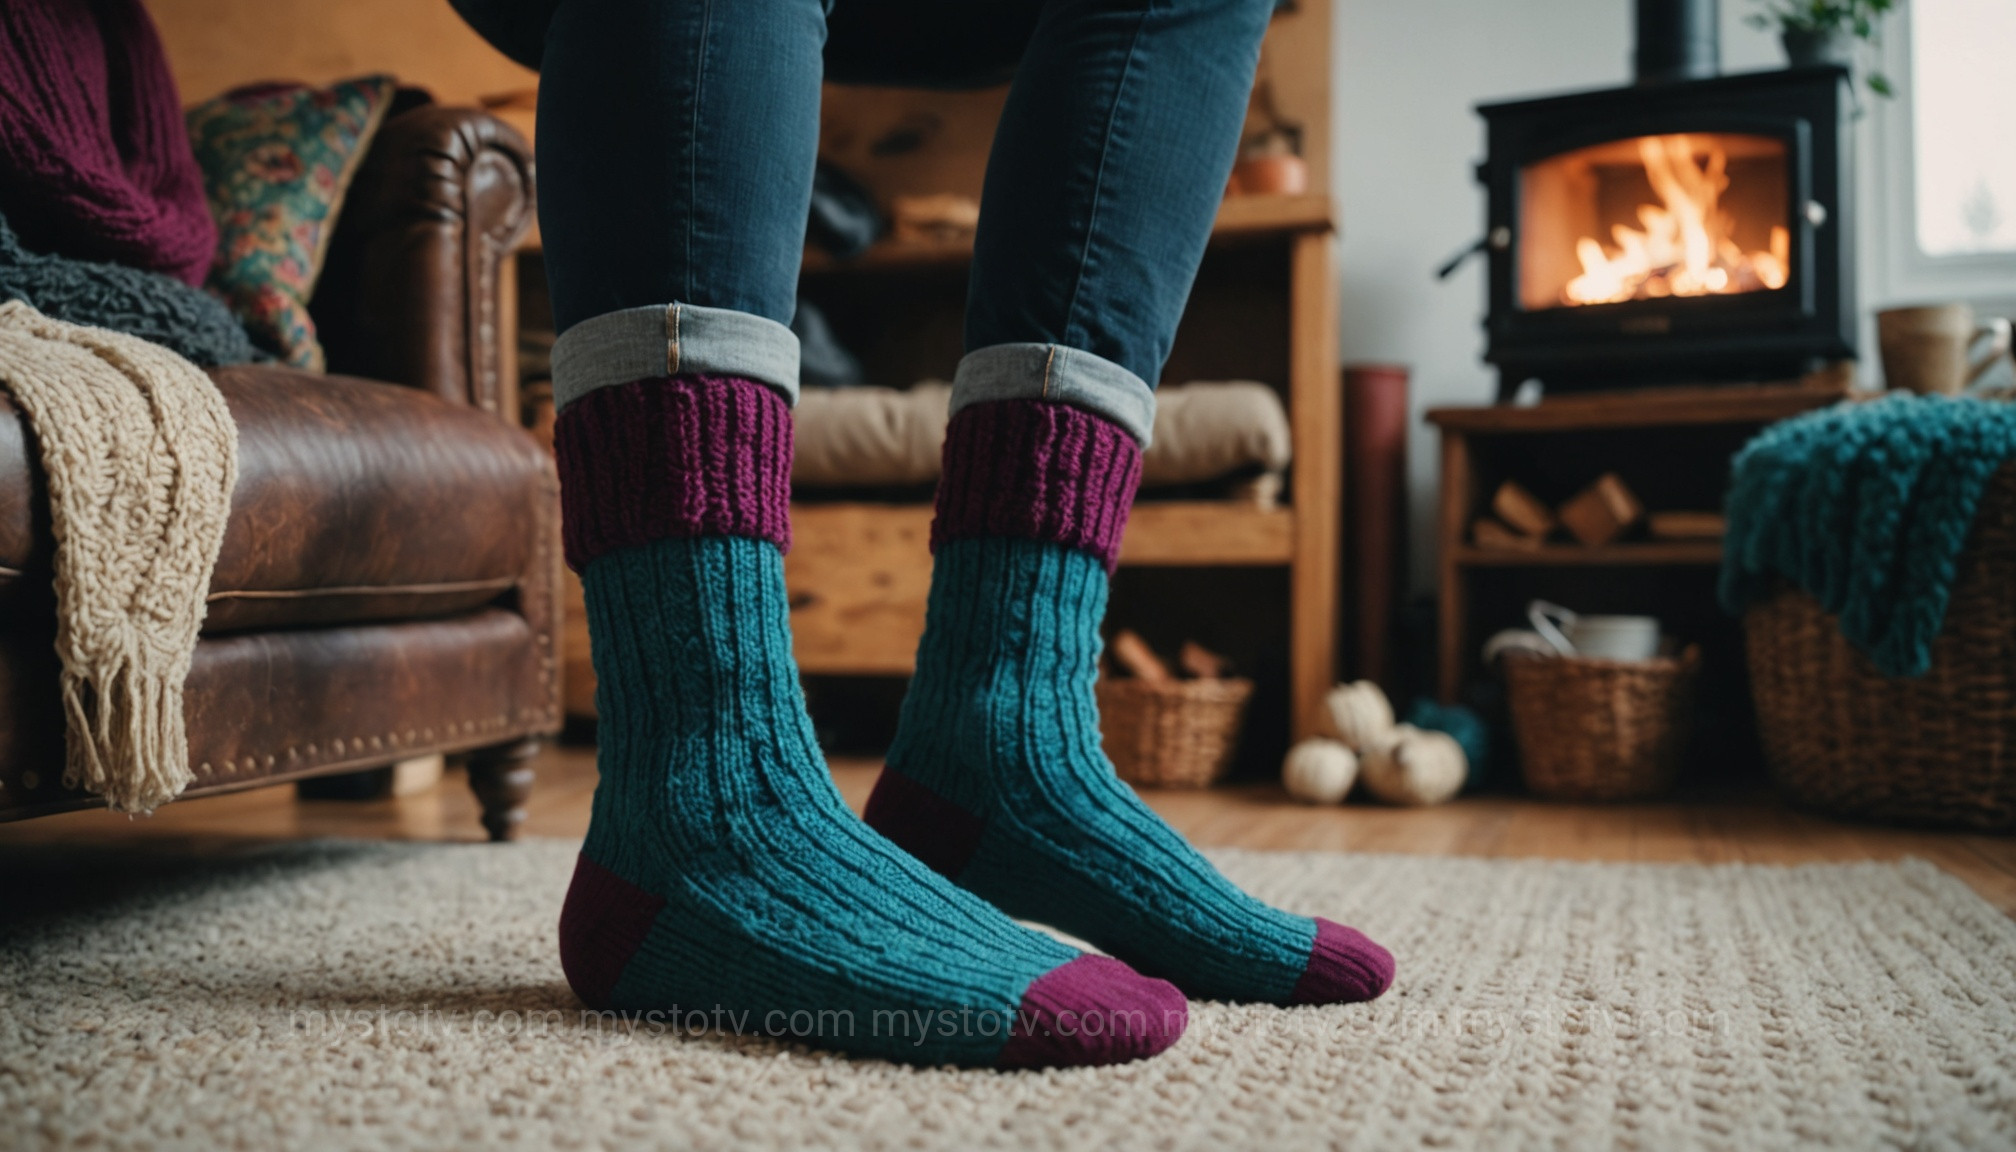
Who says repairs have to be invisible? The modern mending movement embraces the Japanese philosophy of Kintsugi—the art of repairing broken pottery with gold, highlighting the break as part of the object's history. This concept, applied to textiles, is called "visible mending." Instead of trying to hide the repair, you make it a feature.
Analysis: Visible mending transforms the practice of how to darn a sock from a purely functional task into a creative one. Using brightly colored, contrasting yarn turns a simple hole into a statement patch. You can experiment with different patterns, create a small heart shape, or use multiple colors. This approach not only saves your clothes but also allows for personal expression and customization. It celebrates imperfection and tells a story of care, sustainability, and style, challenging the notion that repaired items are "less than" new ones. Your mended socks can become unique, wearable pieces of art. Learning the basic weaving technique is the foundation for all these creative explorations.
Frequently Asked Questions About Darning
Even with a guide, you might have a few questions. Here are answers to some common queries.
What kind of yarn is best for darning socks?
The best practice is to match the fiber content. Use wool darning yarn for wool socks and cotton embroidery floss for cotton or synthetic socks. This ensures the patch wears and washes similarly to the original sock, preventing puckering and improving durability. If you can't find a perfect match, a wool/nylon blend is a great all-purpose choice as the nylon adds strength.
What's the difference between darning and patching?
Darning involves re-weaving the fabric of the garment itself to fill a hole, creating a new piece of integrated fabric. Patching, on the other hand, involves sewing a separate piece of fabric over the hole. Darning is generally better for knit items like socks because it creates a more flexible repair that stretches with the original fabric, making it more comfortable.
How can I make my darn more comfortable and less bulky?
The key to a comfortable darn is using yarn of a similar weight to the original sock and maintaining even tension. Don't pull your weaving threads too tight, as this will cause the patch to become stiff and rigid. Spreading your initial "warp" threads slightly apart can also create a more flexible, less dense patch. Practice makes perfect!
Conclusion: Stitching Sustainability Into Your Life
In the end, learning how to darn a sock is about so much more than a single repair. It is a small but powerful act of conservation, a nod to the resourcefulness of past generations, and a tangible way to push back against a throwaway culture. It connects you to your belongings, saves you money, and reduces your impact on the planet. By picking up a needle and thread, you're not just fixing a hole; you're weaving sustainability, skill, and a little bit of love back into the fabric of your daily life.
References
United States Environmental Protection Agency. (2021). Textiles: Material-Specific Data. https://www.epa.gov/facts-and-figures-about-materials-waste-and-recycling/textiles-material-specific-data
